

Setting Up Screens and Their Devices
Contents3 sections
A screen on the wall is only useful if it is showing the right thing for the right shop. Setup is a handful of fields per display, done once.
What screens do for you
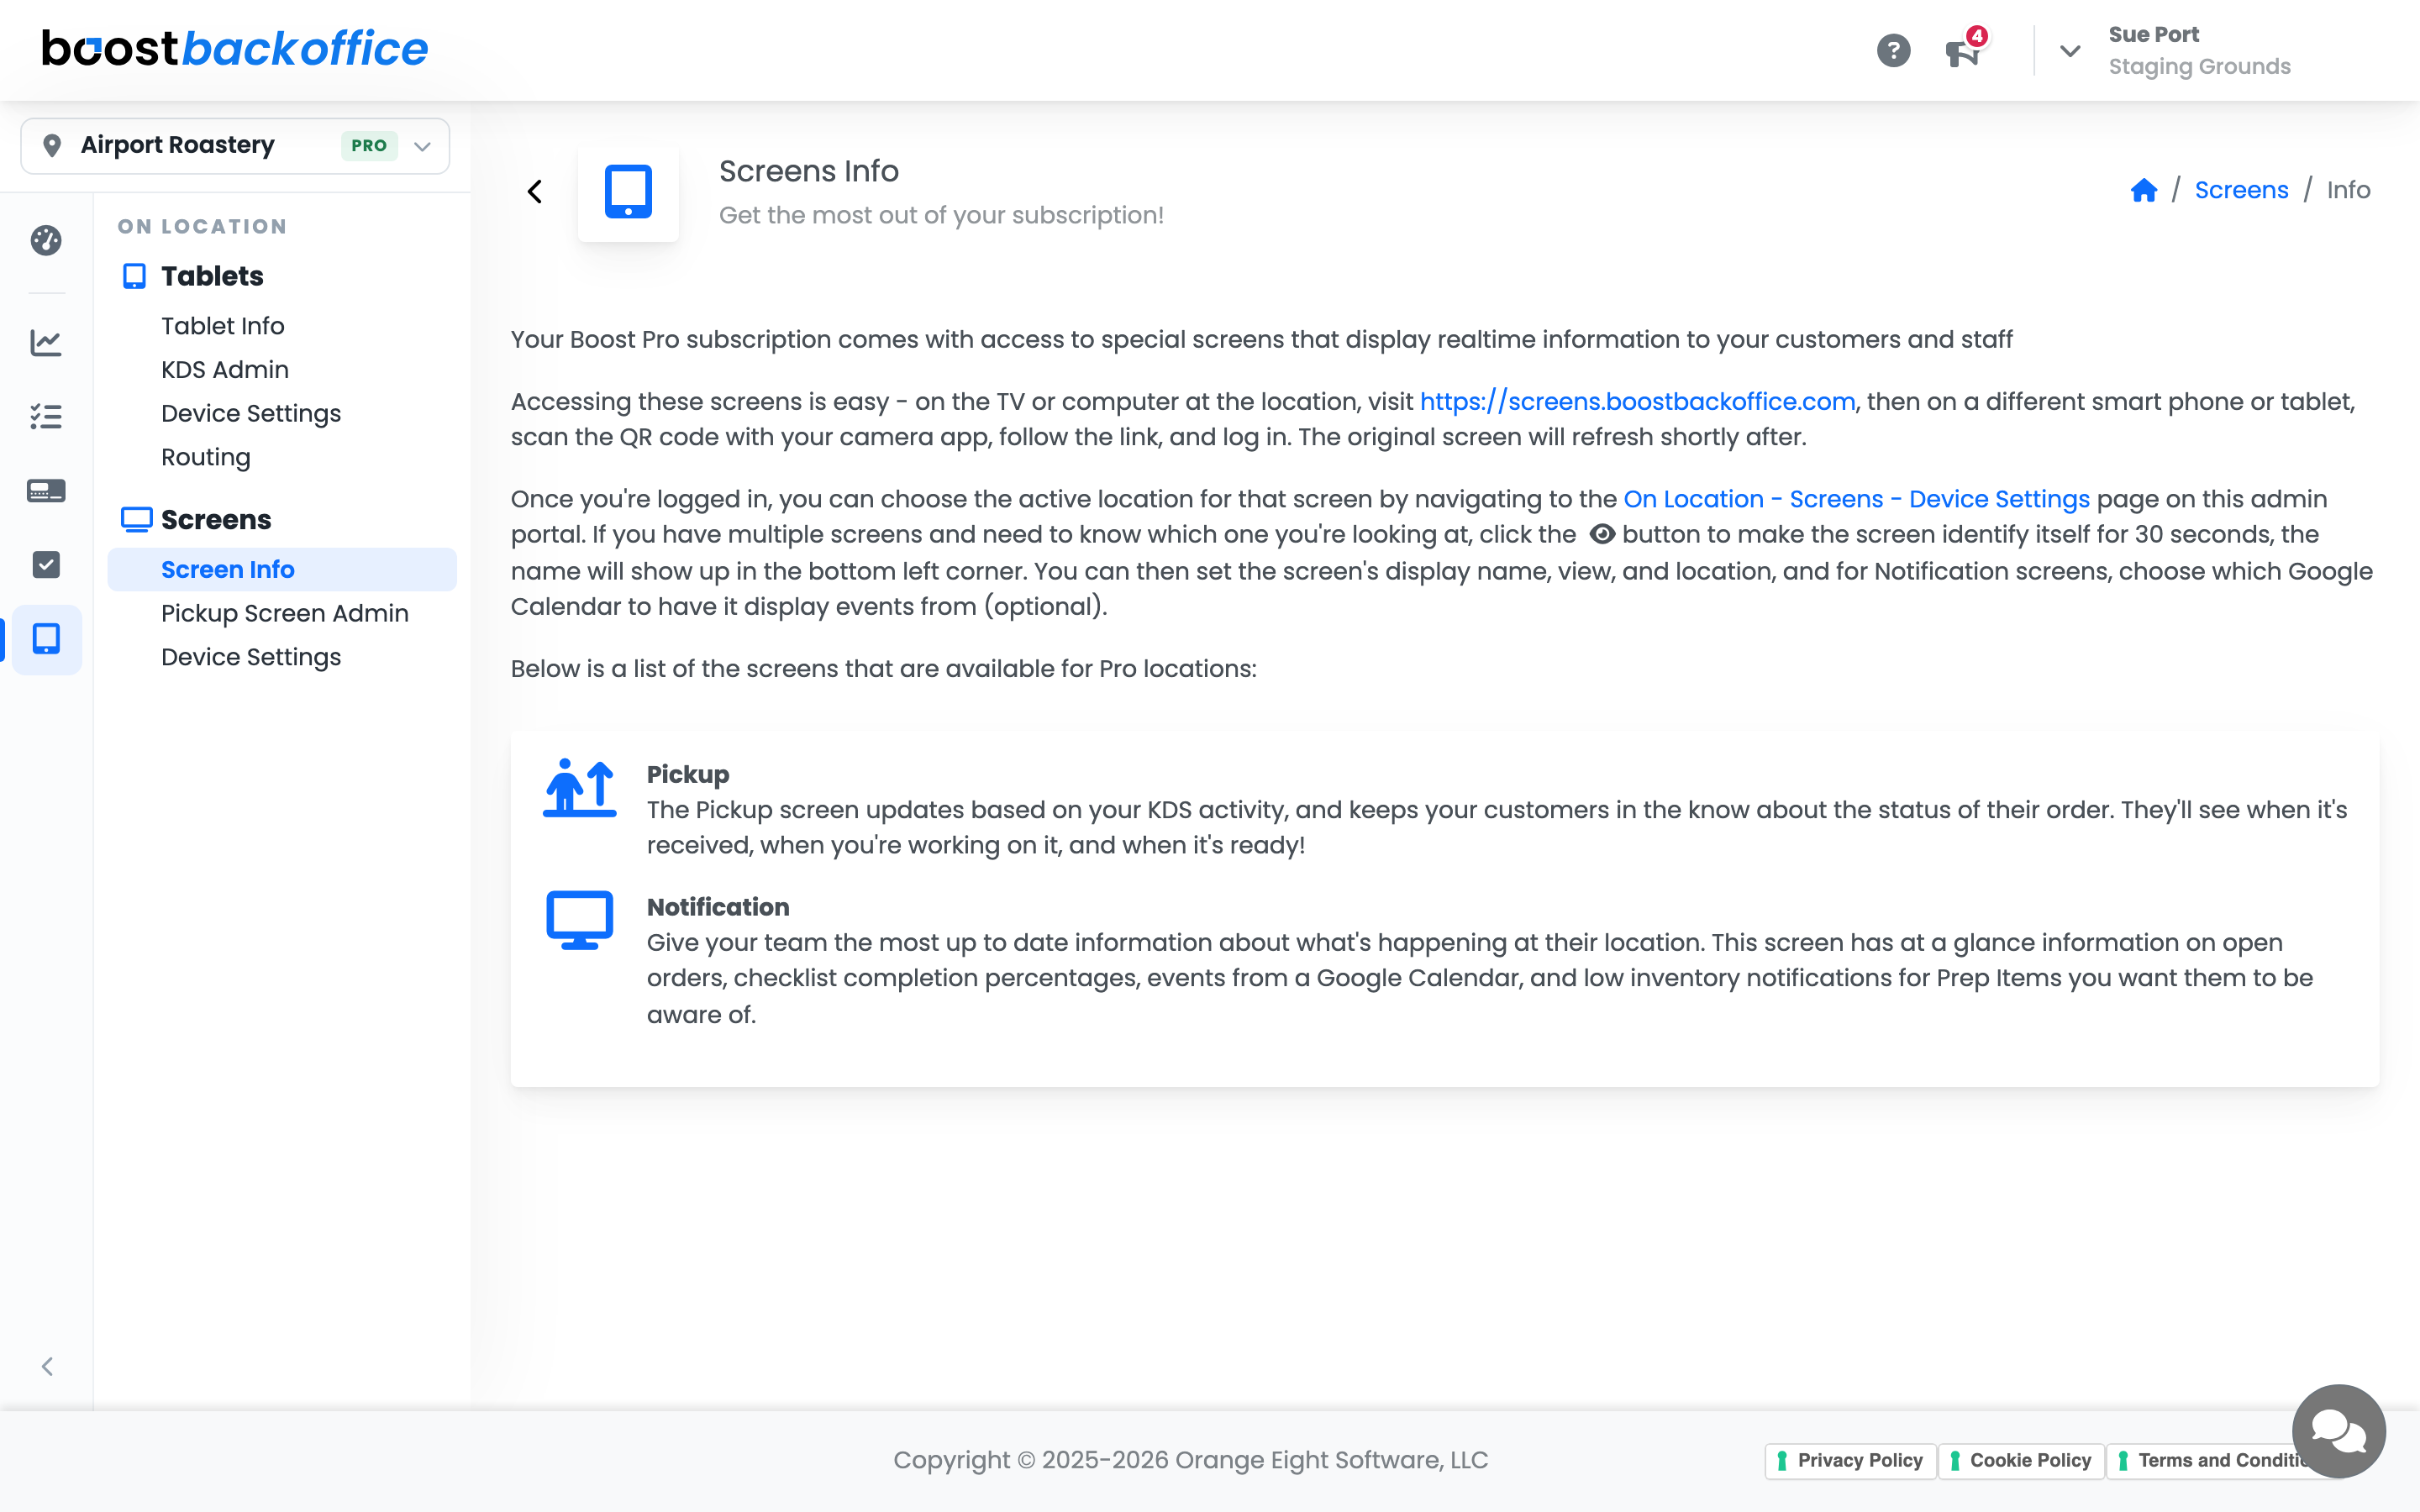
On Location > Screens > Screen Info is the orientation page: what the screens app shows and what your plan includes.
Add a screen
Screens pair themselves. The display shows a QR code on first run, you sign in once to connect it, and it then appears in On Location > Screens > Device Settings ready to configure.
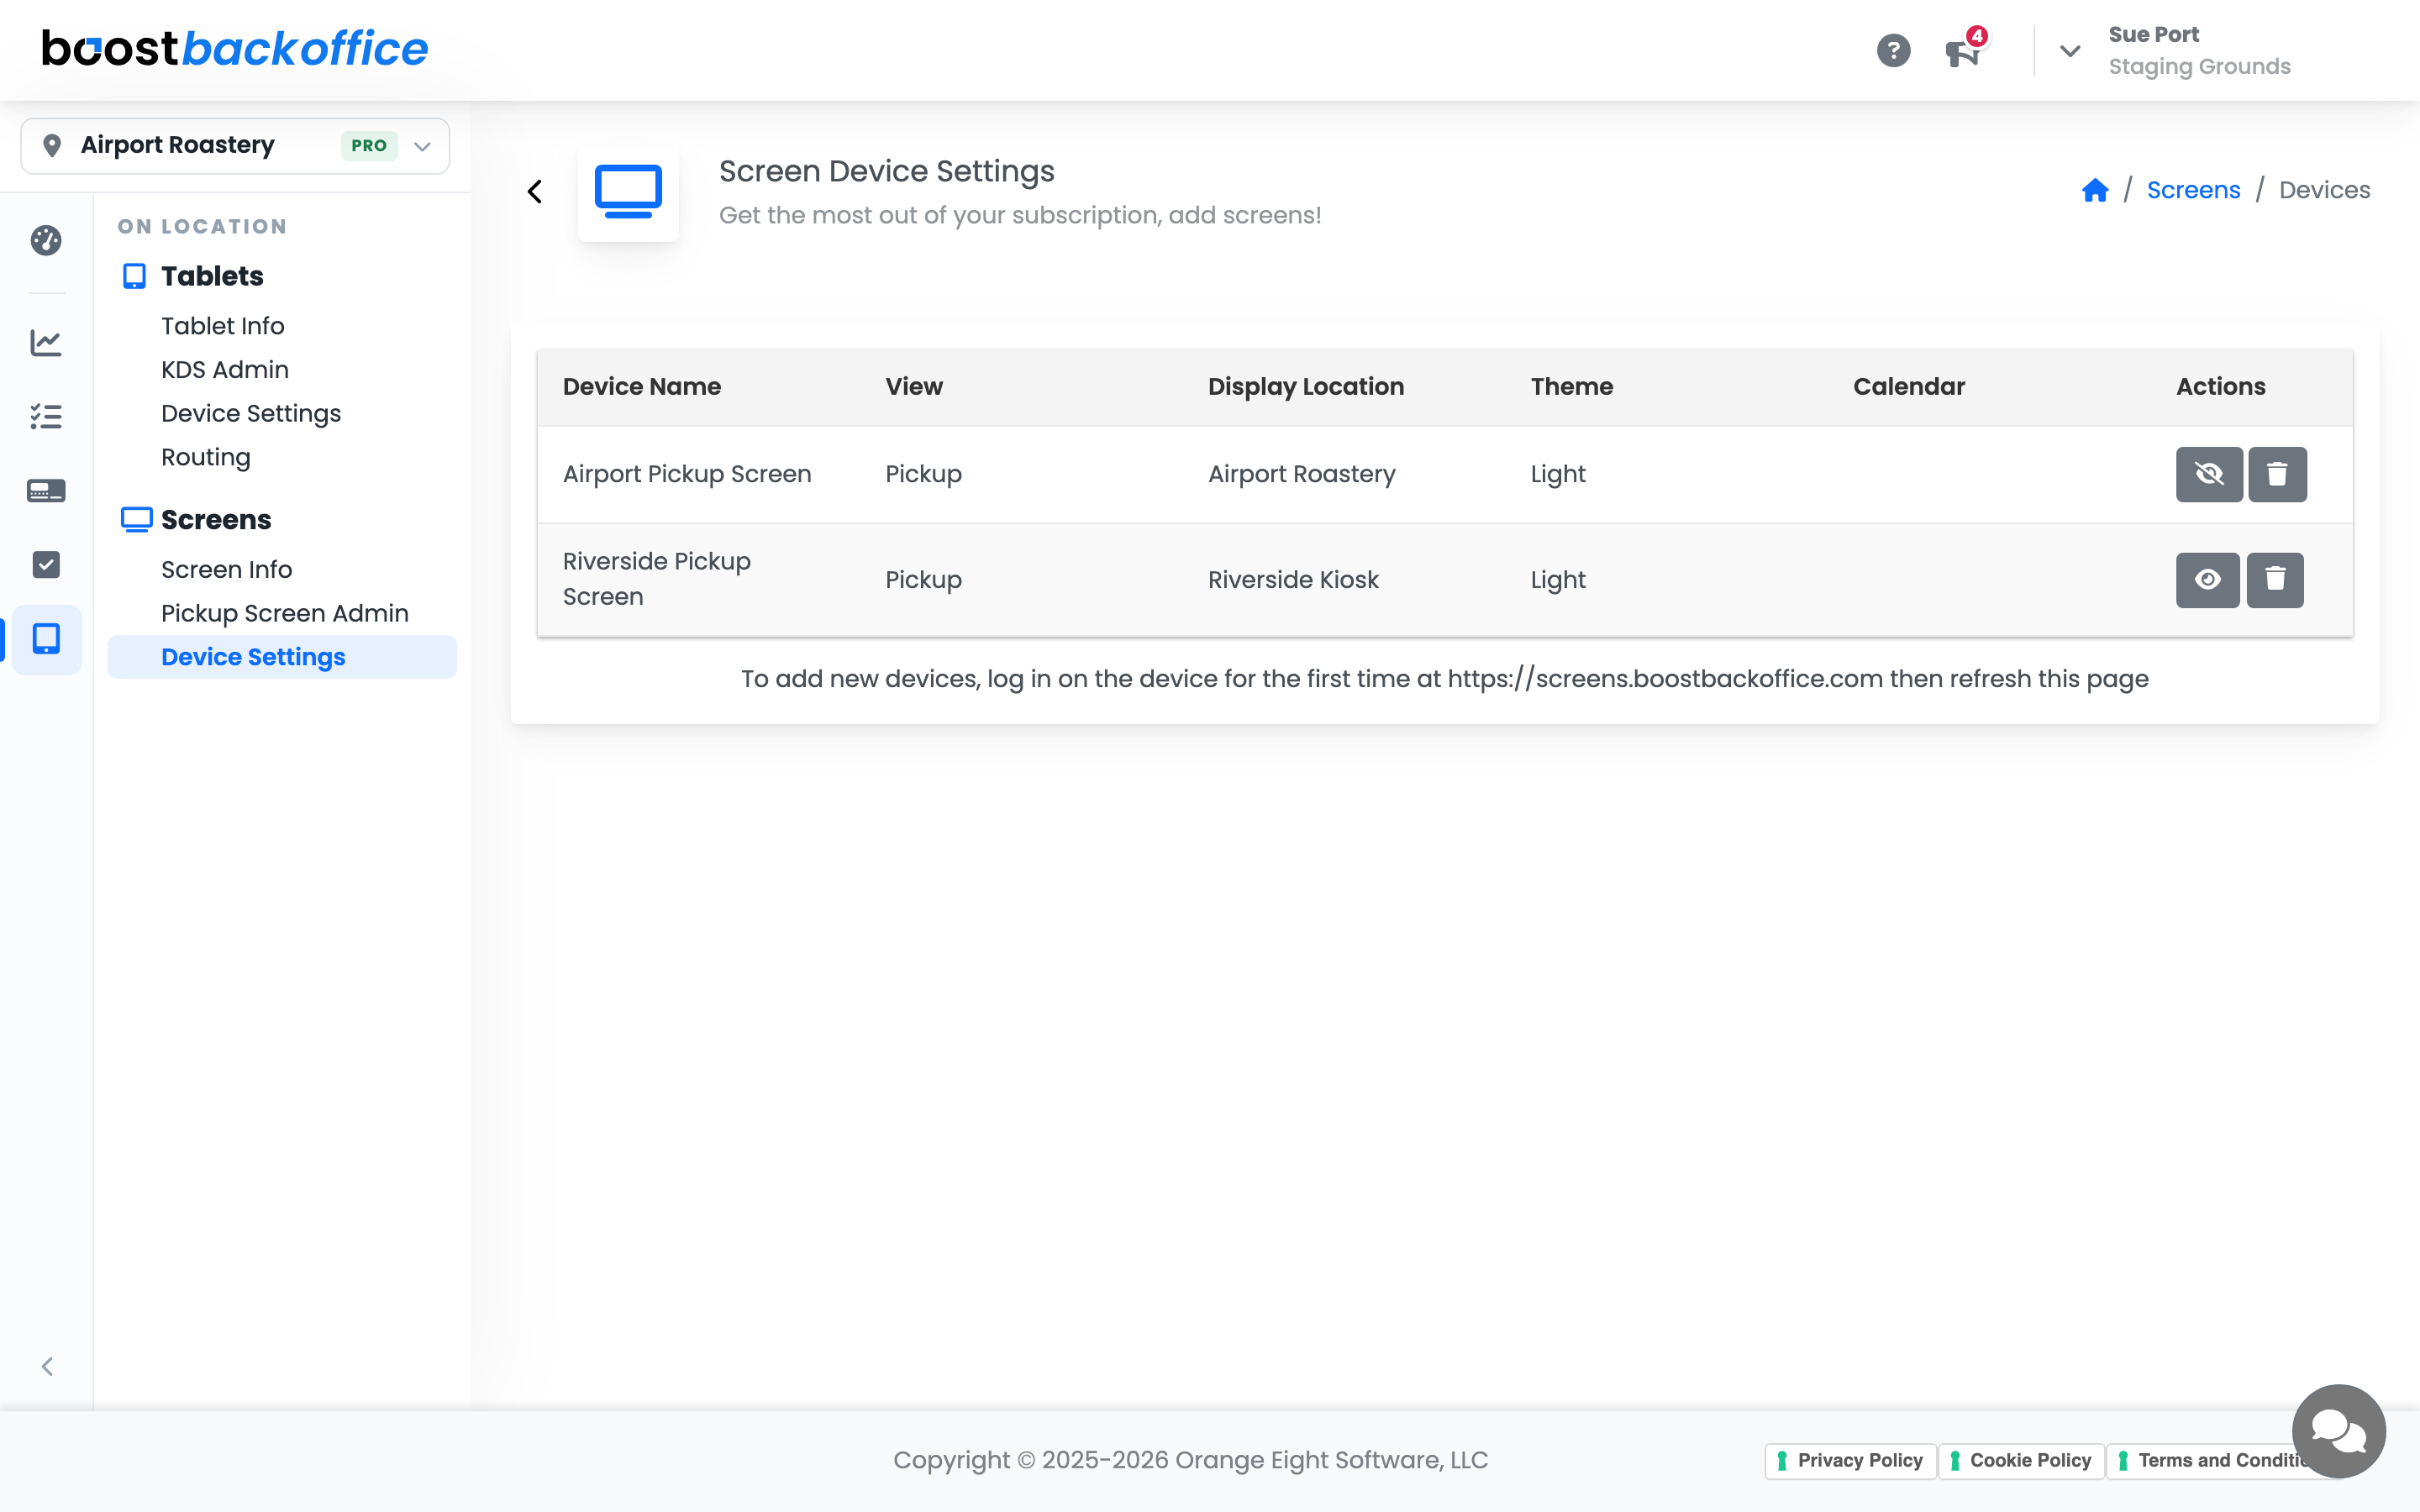
Each screen row carries five things:
- Name, which should say where it hangs.
- View, what the screen actually displays.
- Location, the shop whose data it shows.
- Theme, whether that display runs light or dark.
- Calendar, when the display should follow one.
Name and view are click-to-edit on this page, so changing what a display shows does not mean re-pairing it.
Theme is per screen and takes effect immediately — pick Light or Dark and that display changes on the spot, with no reload and no trip out front. A screen in a sunny window can stay light while the one over the pickup counter runs dark.
Important
Location is the field to get right on a multi-shop account. A screen pointed at the wrong location will happily show another shop's information to your customers.
Tip
Name screens after the wall, not the model: "Front Counter" and "Drive-Thru Window" tell whoever is fixing it where to stand.
What you should see
Every display listed with a name that matches where it hangs, pointed at its own shop, showing the view you intended.
Account Level: Pro