

Connecting Your POS and Other Tools
Contents4 sections
Boost Back Office works out usage from what you sell, so connecting your POS is the step that turns most of the app on. Until it is connected, recipes cost things but nothing consumes them.
Open integrations
Go to Account > Integrations.
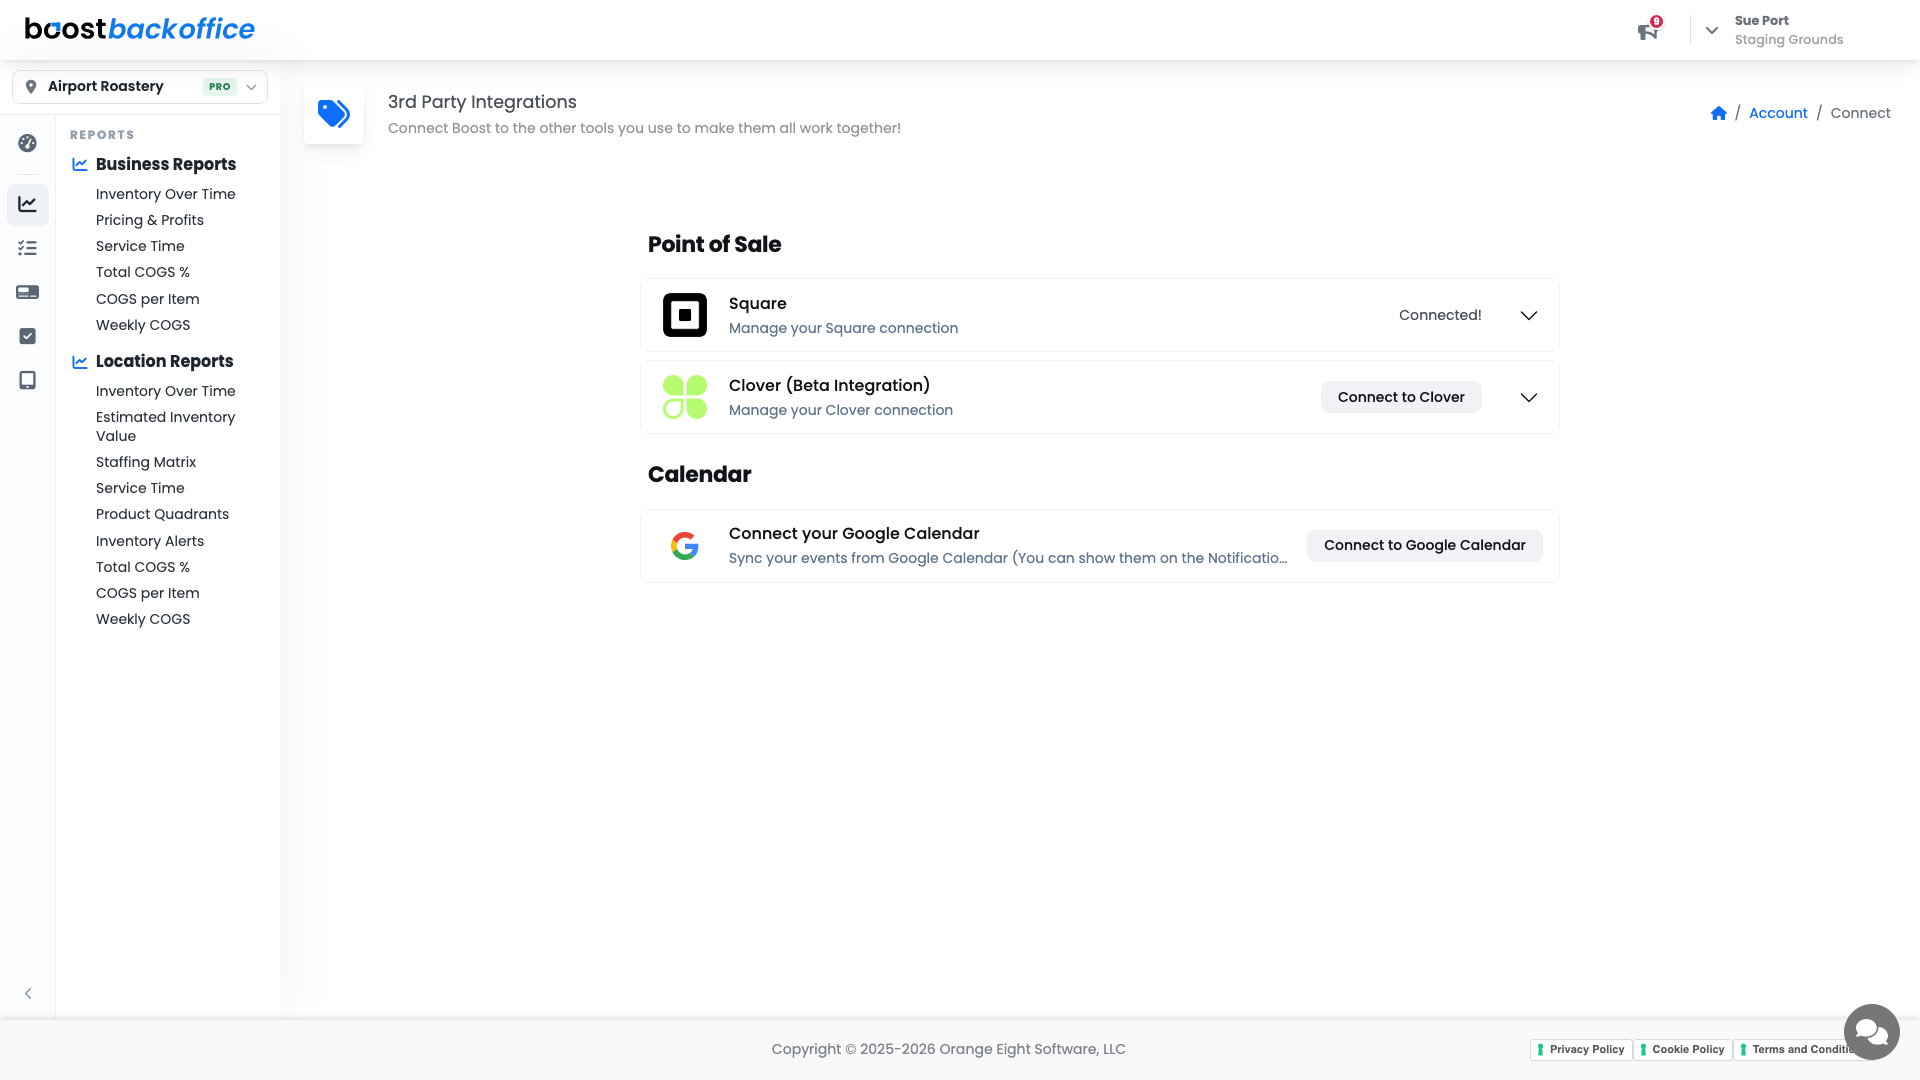
The page is grouped by what each tool does:
| Group | What it is for |
|---|---|
| Point of Sale | Square, or Clover in beta. Where your sales and menu come from |
| Calendar | Google Calendar, so events can appear on your screens |
Connect a point of sale
Press Connect on the one you use and sign in with your provider. Boost never sees your POS password; the connection is made through Square or Clover and handed back.
Once it is connected the card reads Connected! and expands to show what you can do next:
- Resync pulls your menu across again after you have changed it in the POS.
- Menu links shows how your POS categories and items map to Boost recipes, and lets you fix any that matched to the wrong thing.
Important
Connecting is only half the job. Work through menu links afterwards, because an item that is not linked to a recipe sells without consuming any inventory, and its revenue is left out of your COGS.
Note
Connecting a POS is owner or admin only, and POS sync starts on the KDS plan.
Connect Google Calendar
Connect to Google Calendar syncs your events so they can be displayed on a screen, which is how the notification board shows what is on today.
What you should see
A POS card reading Connected!, a menu link for every item you sell, and sales arriving in Boost without anybody typing them in.
Account Level: KDS & Pro