

Setting Up Tablets and Their Devices
Contents4 sections
The tablet app is what your team touches all day. Setting one up is three decisions: where it sits, which shop it belongs to, and which tickets it should show.
What tablets do for you
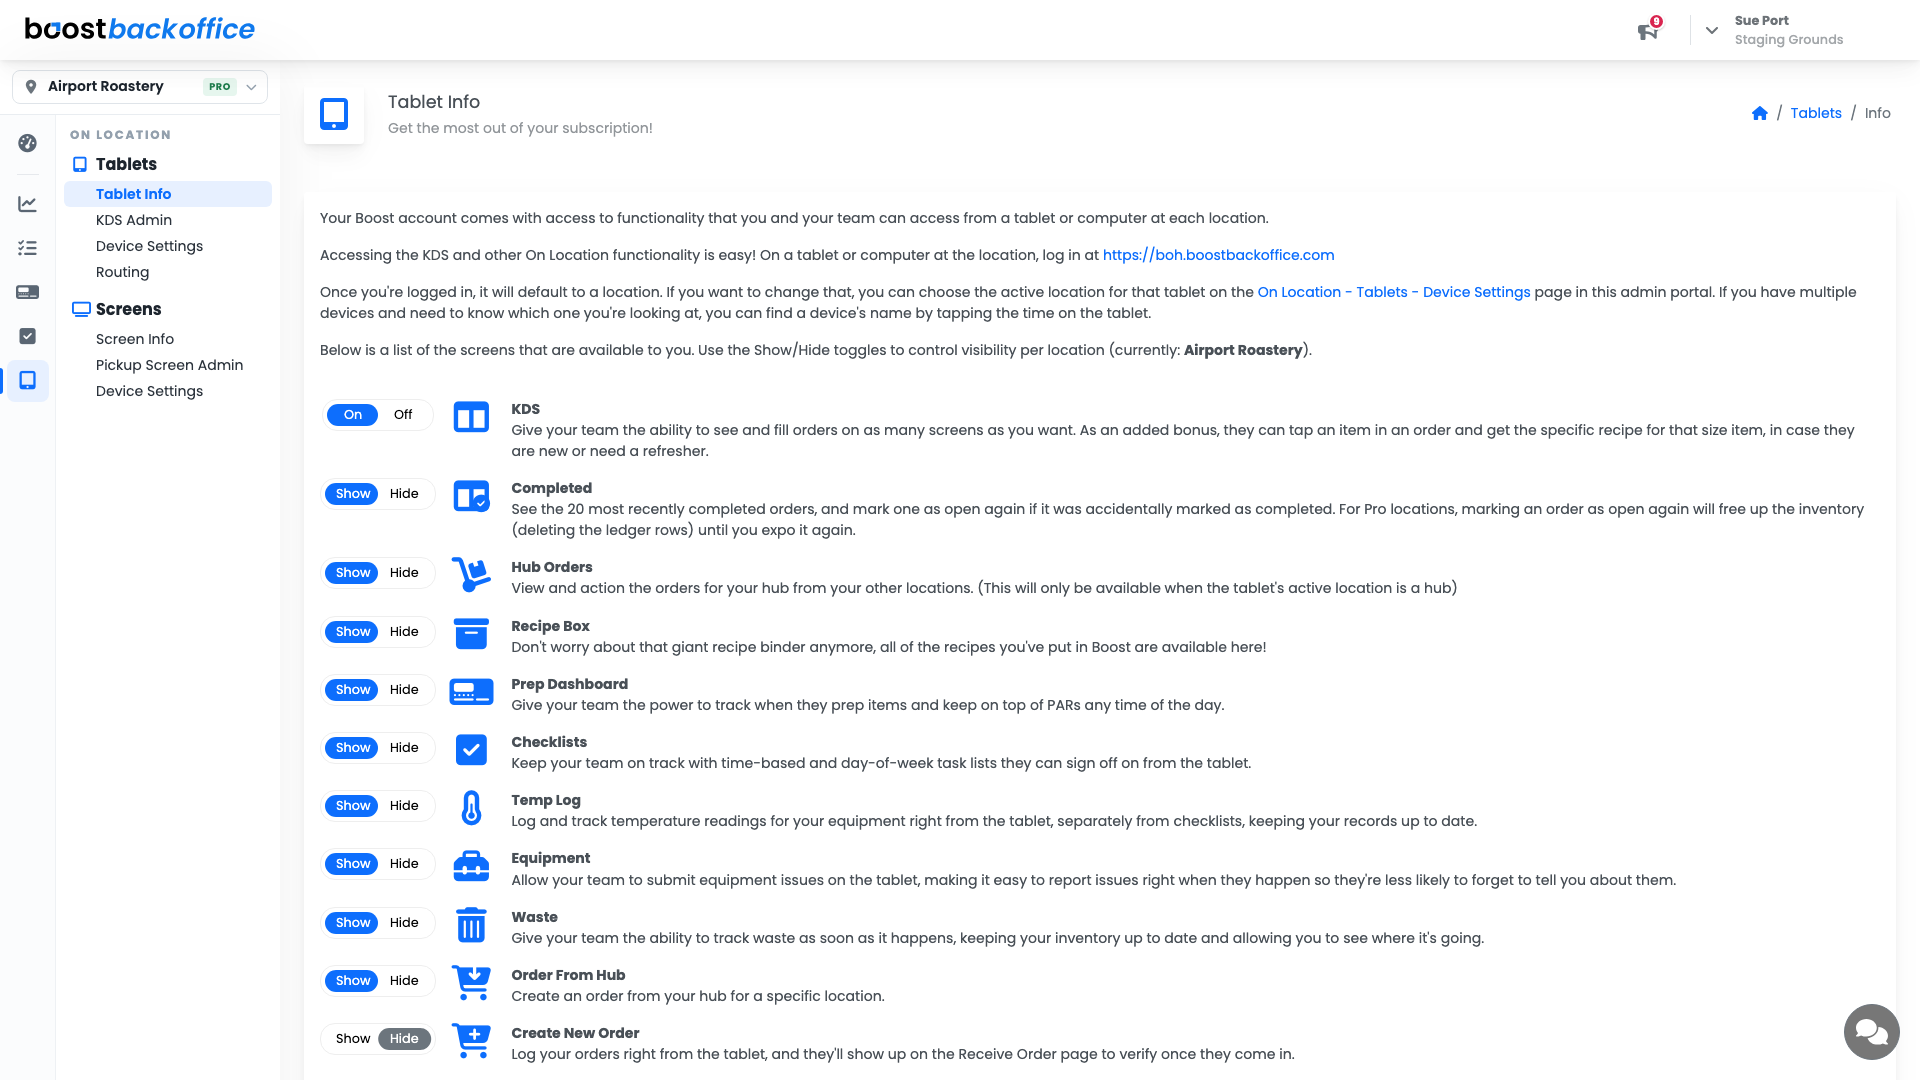
On Location > Tablets > Tablet Info is the orientation page: what the tablet app covers on your plan, from the KDS order board to checklists, prep, and waste.
Add a device
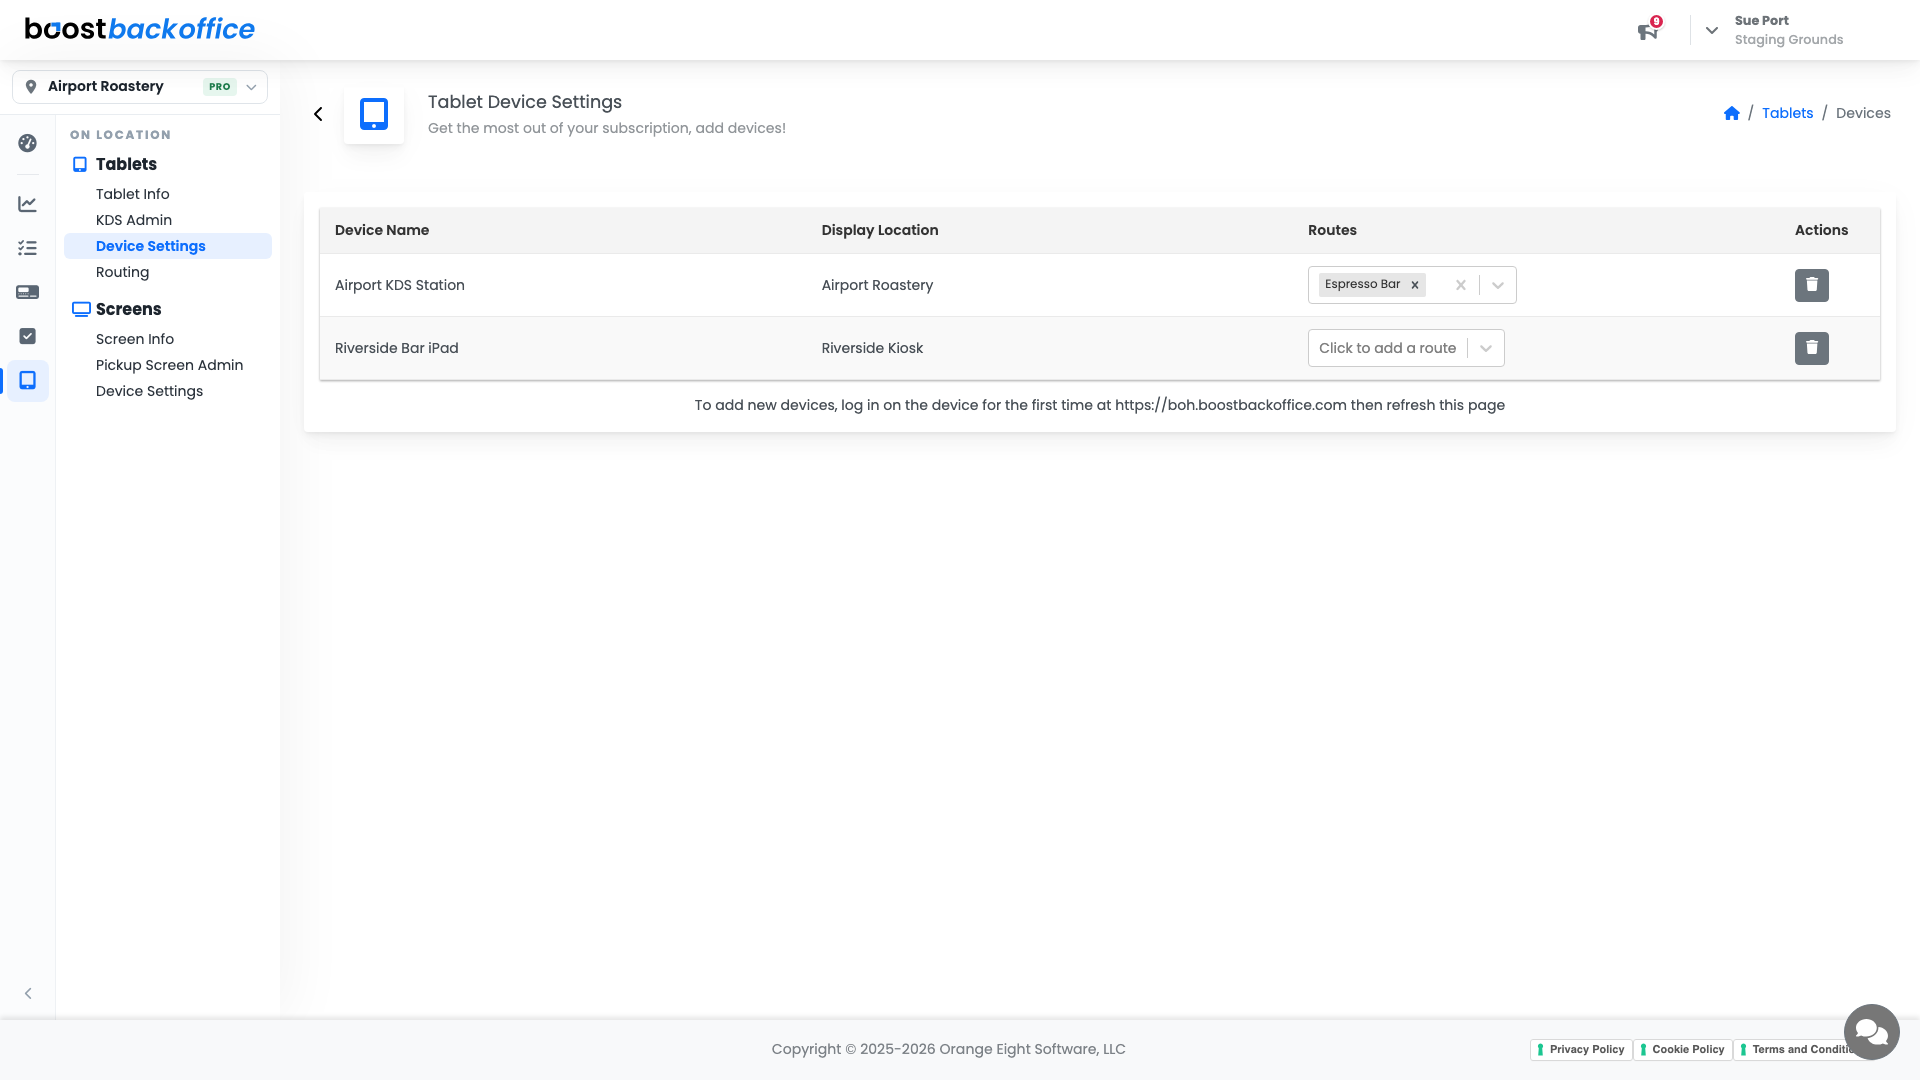
A tablet adds itself. Log in on the device for the first time at the tablet app address, then come back to On Location > Tablets > Device Settings and refresh. The device appears in the list, ready to configure.
| Column | What to set it to |
|---|---|
| Device Name | Where it physically sits, for example "Airport KDS Station" |
| Display Location | The shop this tablet belongs to |
| Routes | Which slices of the menu it shows |
Device Name is click-to-edit, and a device with no routes shows Click to add a route until you give it one.
Tip
Name devices after the counter, not the hardware. "Bar iPad" tells the next person where to go; "iPad 3" tells them nothing at 6am.
Routes decide what it shows
A tablet with no route shows everything, which is fine for a single-station shop and unworkable for two. Set up your routes under On Location > Tablets > Routing first, then attach them here. One device can carry several, so a small shop can run bar and kitchen on one screen and split them later without redoing anything.
What you should see
Every tablet in your shop listed with a name someone would recognise, pointed at the right location, and showing only the tickets that station makes.
Account Level: KDS & Pro