

Running the Prep Dashboard
Contents4 sections
Prep is the job that goes wrong quietly: too little and you run out mid-rush, too much and you pour it away on Sunday. The Prep Dashboard turns it into two steps.
Step 1: what we have
Open the prep dashboard on the tablet. Prep is split into tabs by category, so you work one station at a time.
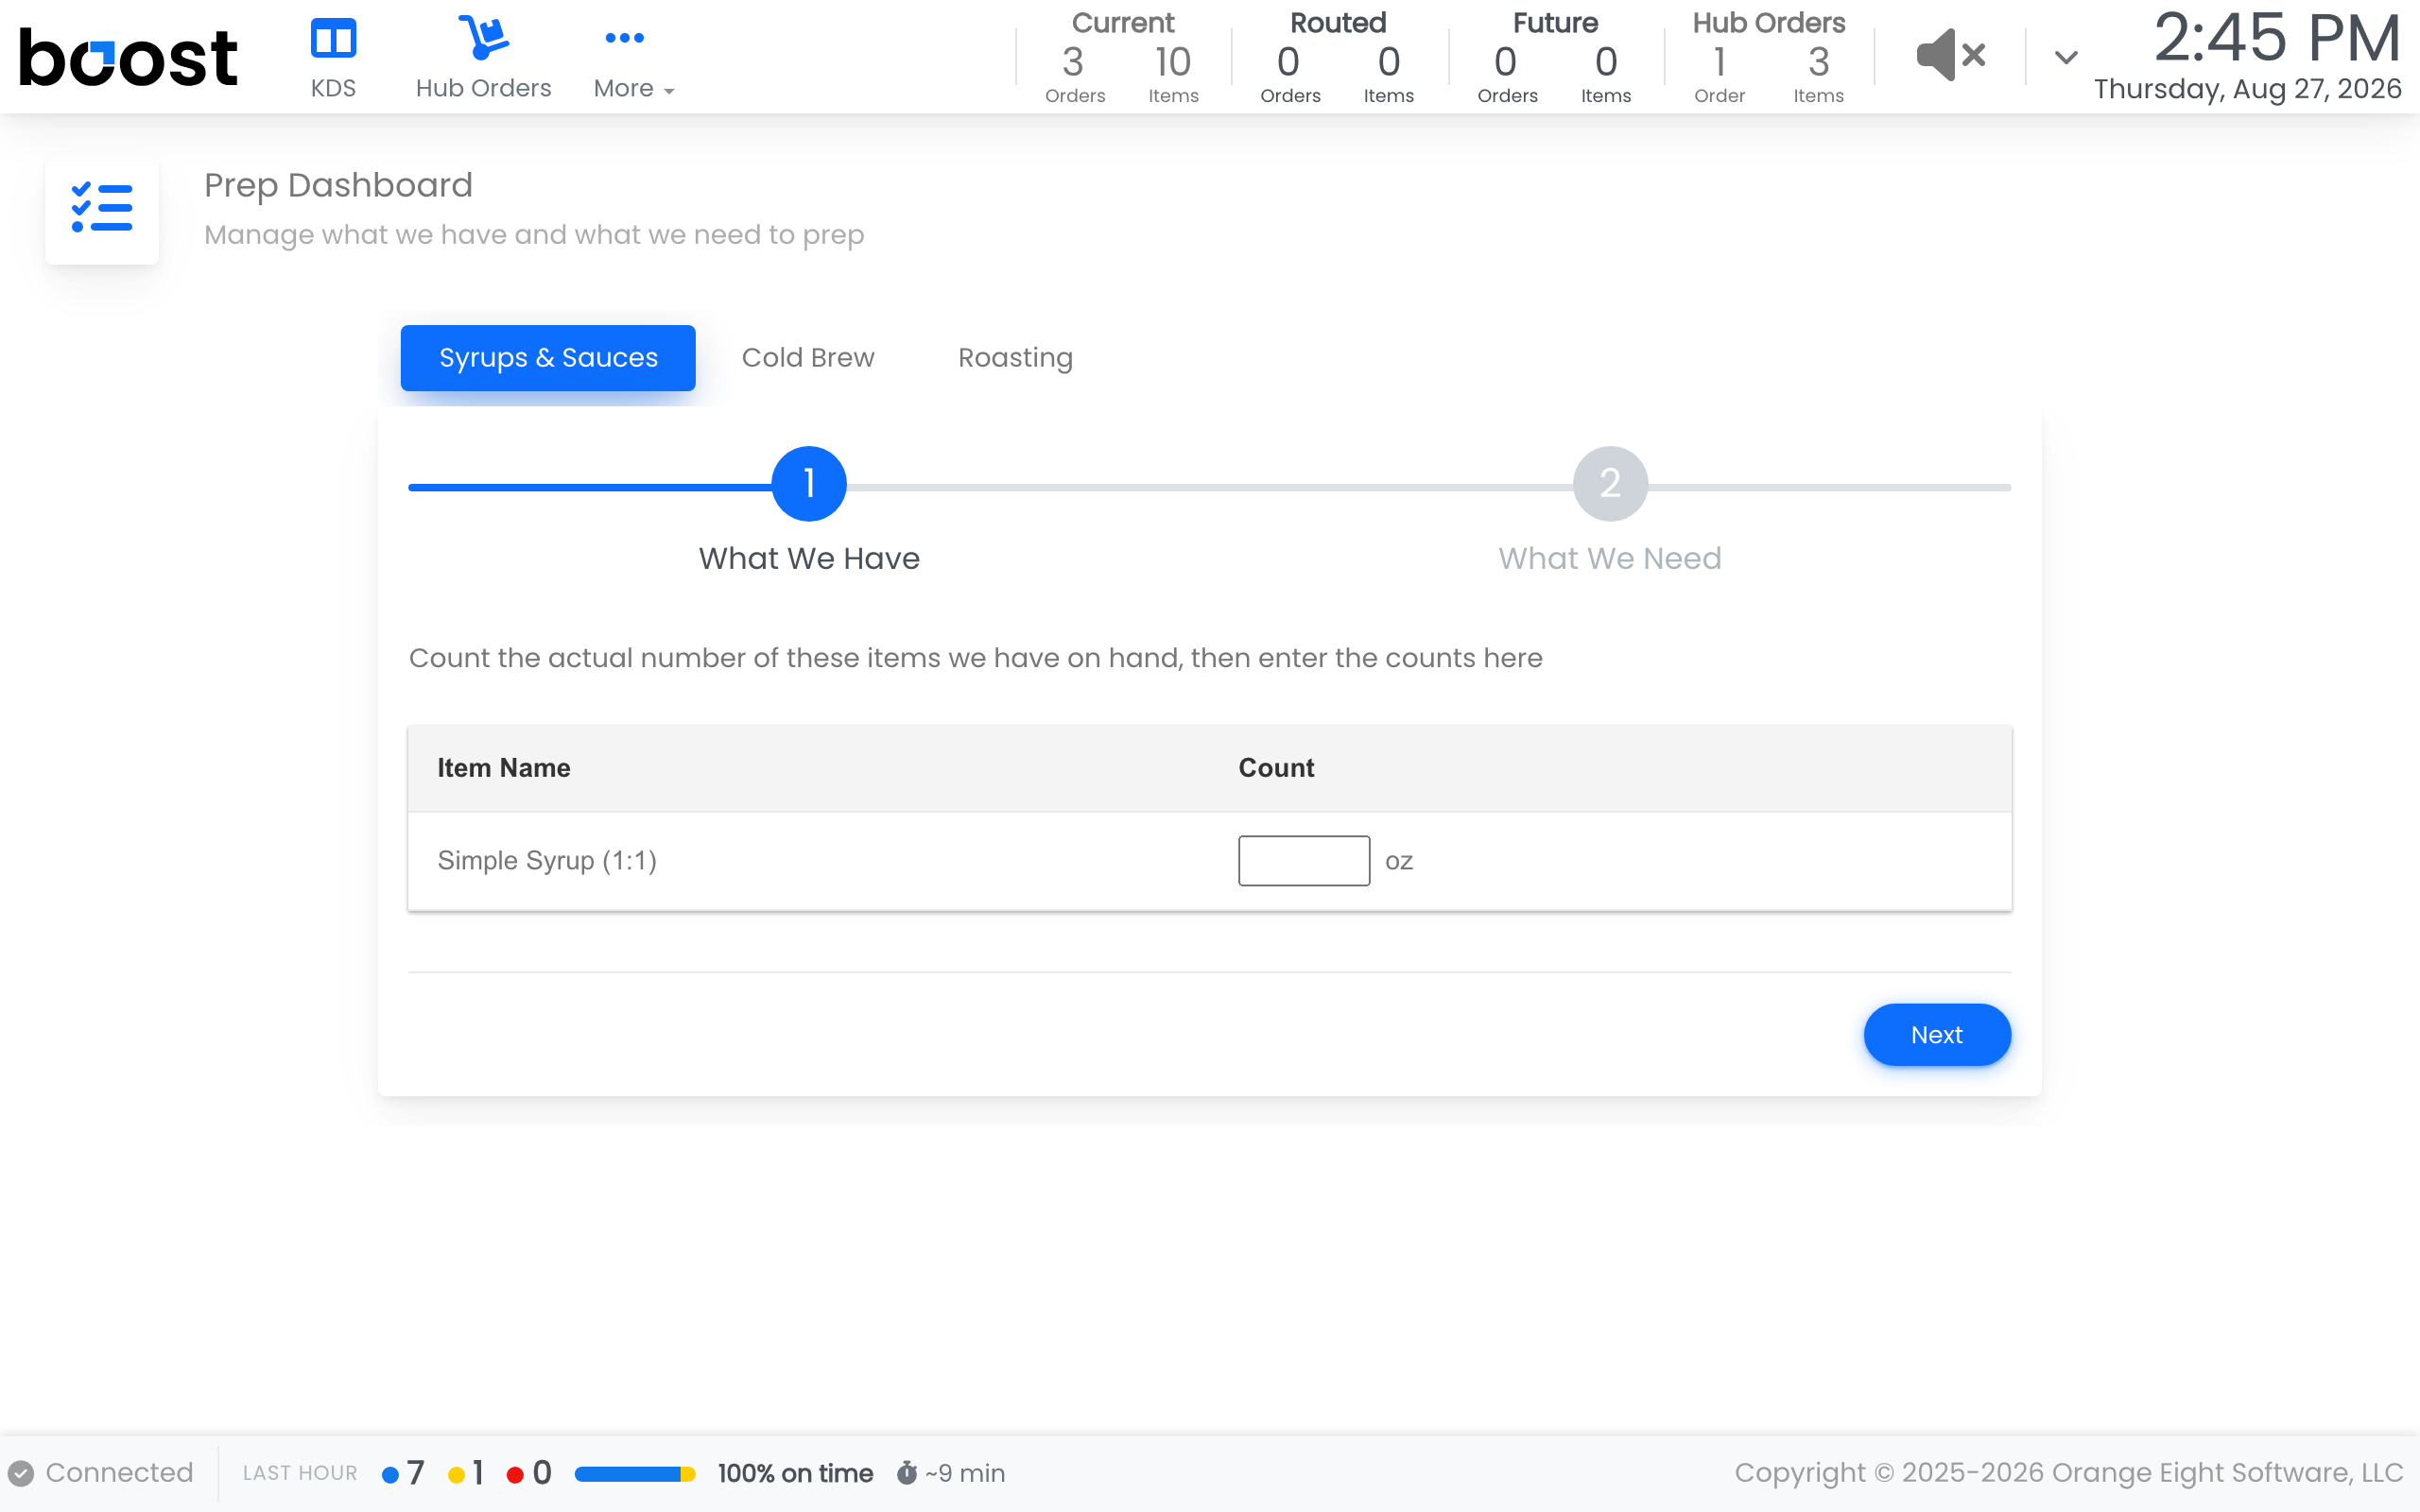
Count what is actually made and on the shelf, and type it into the Count column in the unit that batch is measured in. Then press Next.
Step 2: what we need
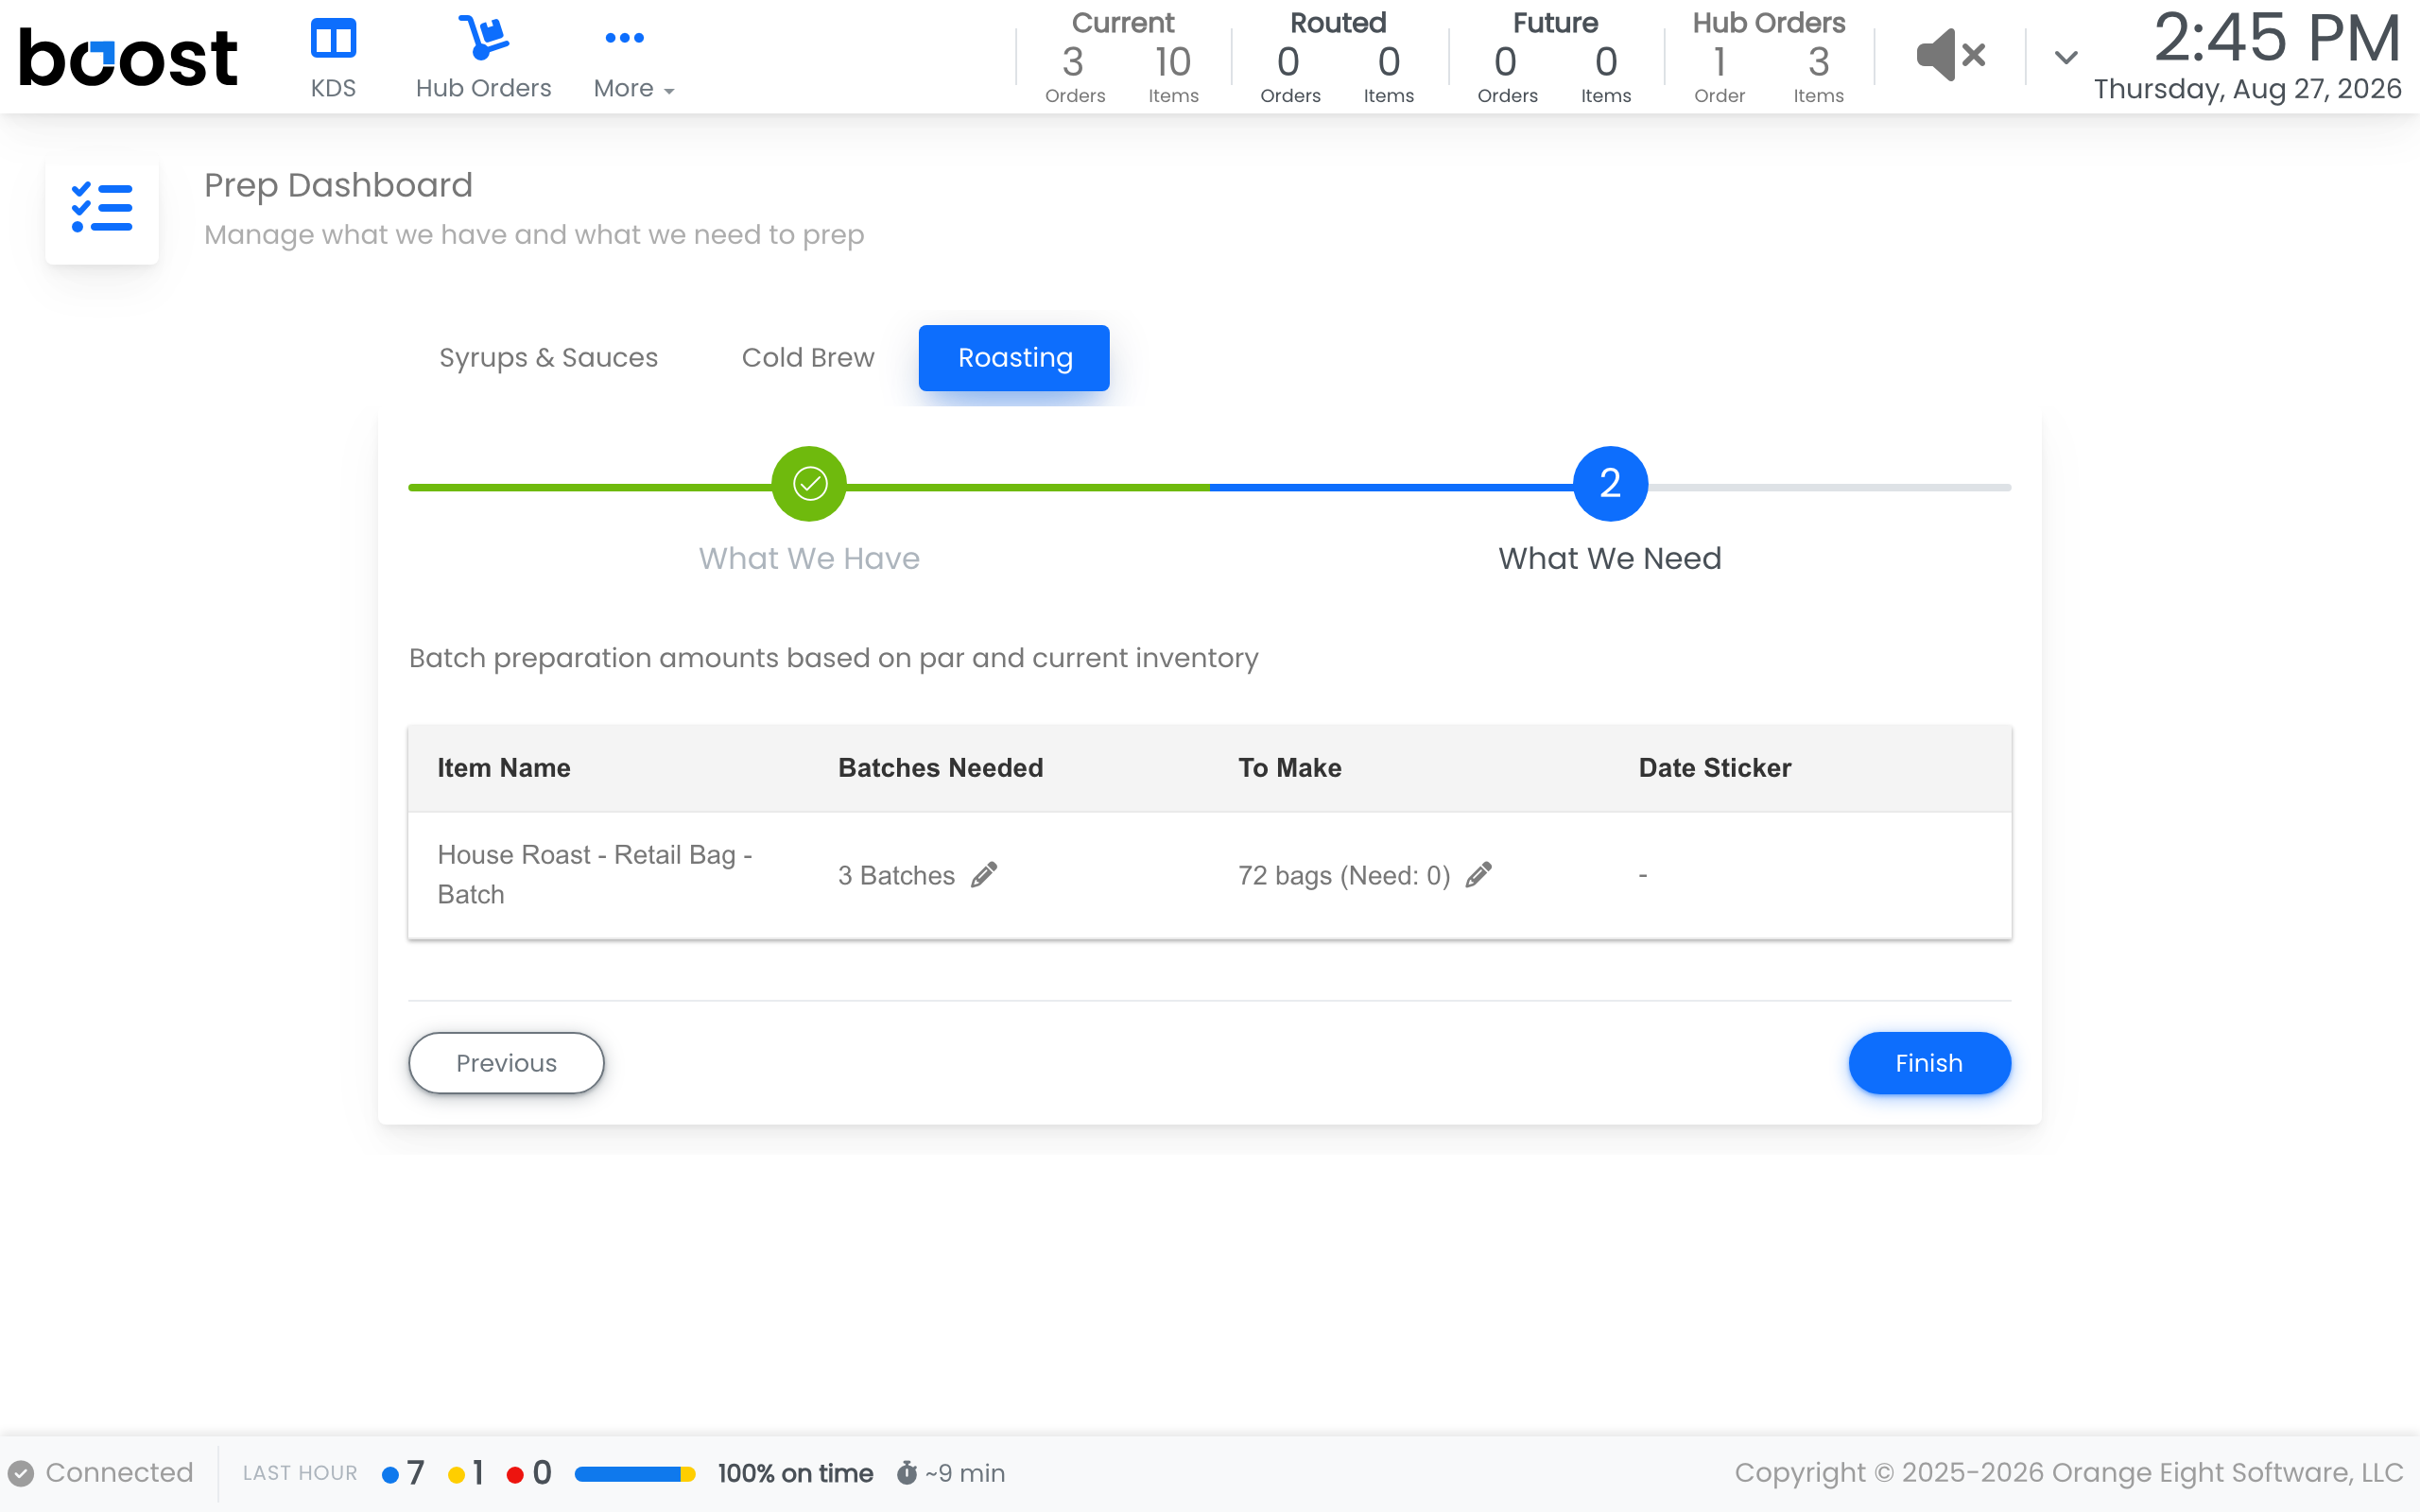
The second step is the answer: what to prep, worked out from what you have against what you are expected to get through. That is your prep list for the shift, without anybody doing the arithmetic in their head at 6am.
When a recipe is made in batches, put how many batches you ran in Batches Needed and the To Make column fills in what that many batches yields. Change To Make only when the batch genuinely came out heavier or lighter than usual — the difference is recorded against that recipe as extra or waste, so your yields stay honest over time.
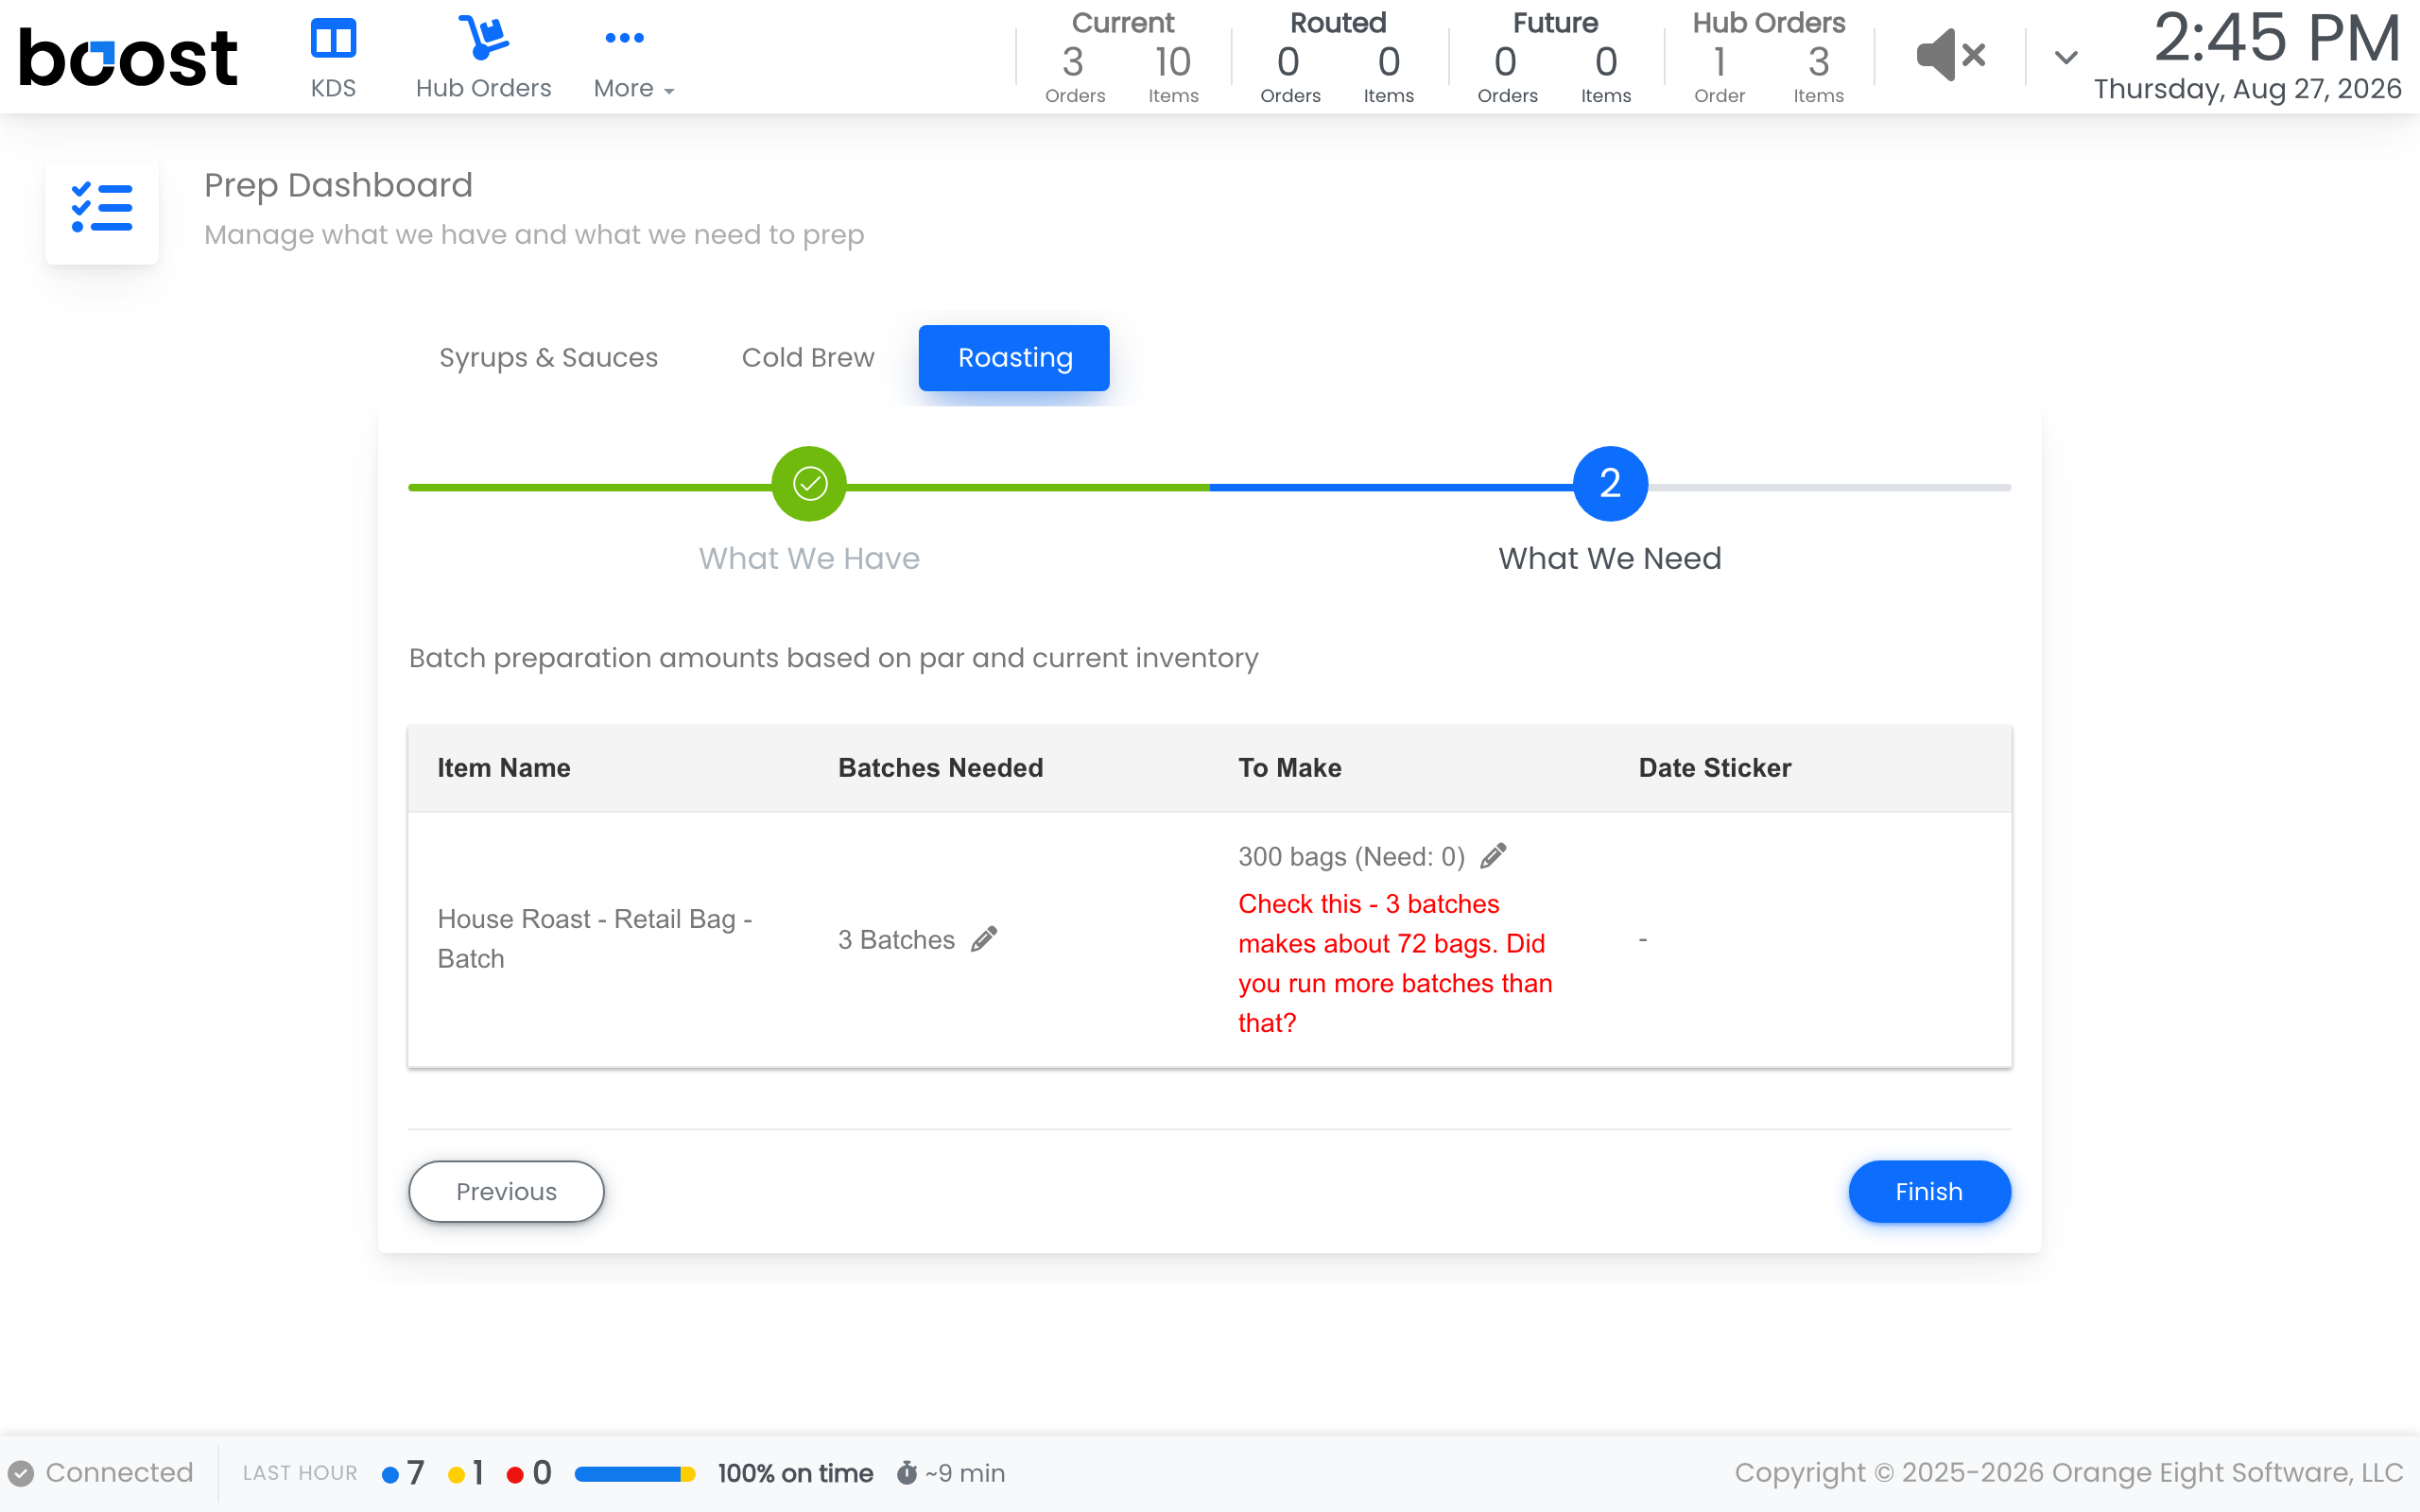
If the amount you enter is far more than those batches could have produced, the tablet asks about it on the spot. Nearly always it means more batches were run than were entered.
Note
It is a question, not a block. A genuinely heavy batch still saves. The prompt is there so a slip of the finger does not quietly become stock you do not have.
Tip
Do this at the same point every day, ideally before the first rush. The numbers are only useful if the count reflects a moment your team recognises.
Why the count matters
The counts you enter here are the input to everything else on the screen. A batch counted as full when it is half gone produces a prep list that leaves you short by mid-morning, and the tablet has no way of knowing.
What you should see
A prep list that matches what your team would have written on the whiteboard, arrived at in about a minute, and no ingredient running out before the next batch is ready.
Account Level: KDS & Pro