

Organizing Ingredients into Categories
Contents6 sections
Categories group your ingredients the way you already think about your shop: coffee, dairy, syrups, paper goods. Set them up once and your reports can tell you what each group is worth and what it costs you.
Note
Categories are free on every plan, and so is filtering Estimated Inventory Value by category. On Pro, the same categories also split COGS by Category, filter Weekly COGS, and drive the QuickBooks export.
Open your categories
Go to Recipes & Ingredients > Ingredients > Ingredient Categories.
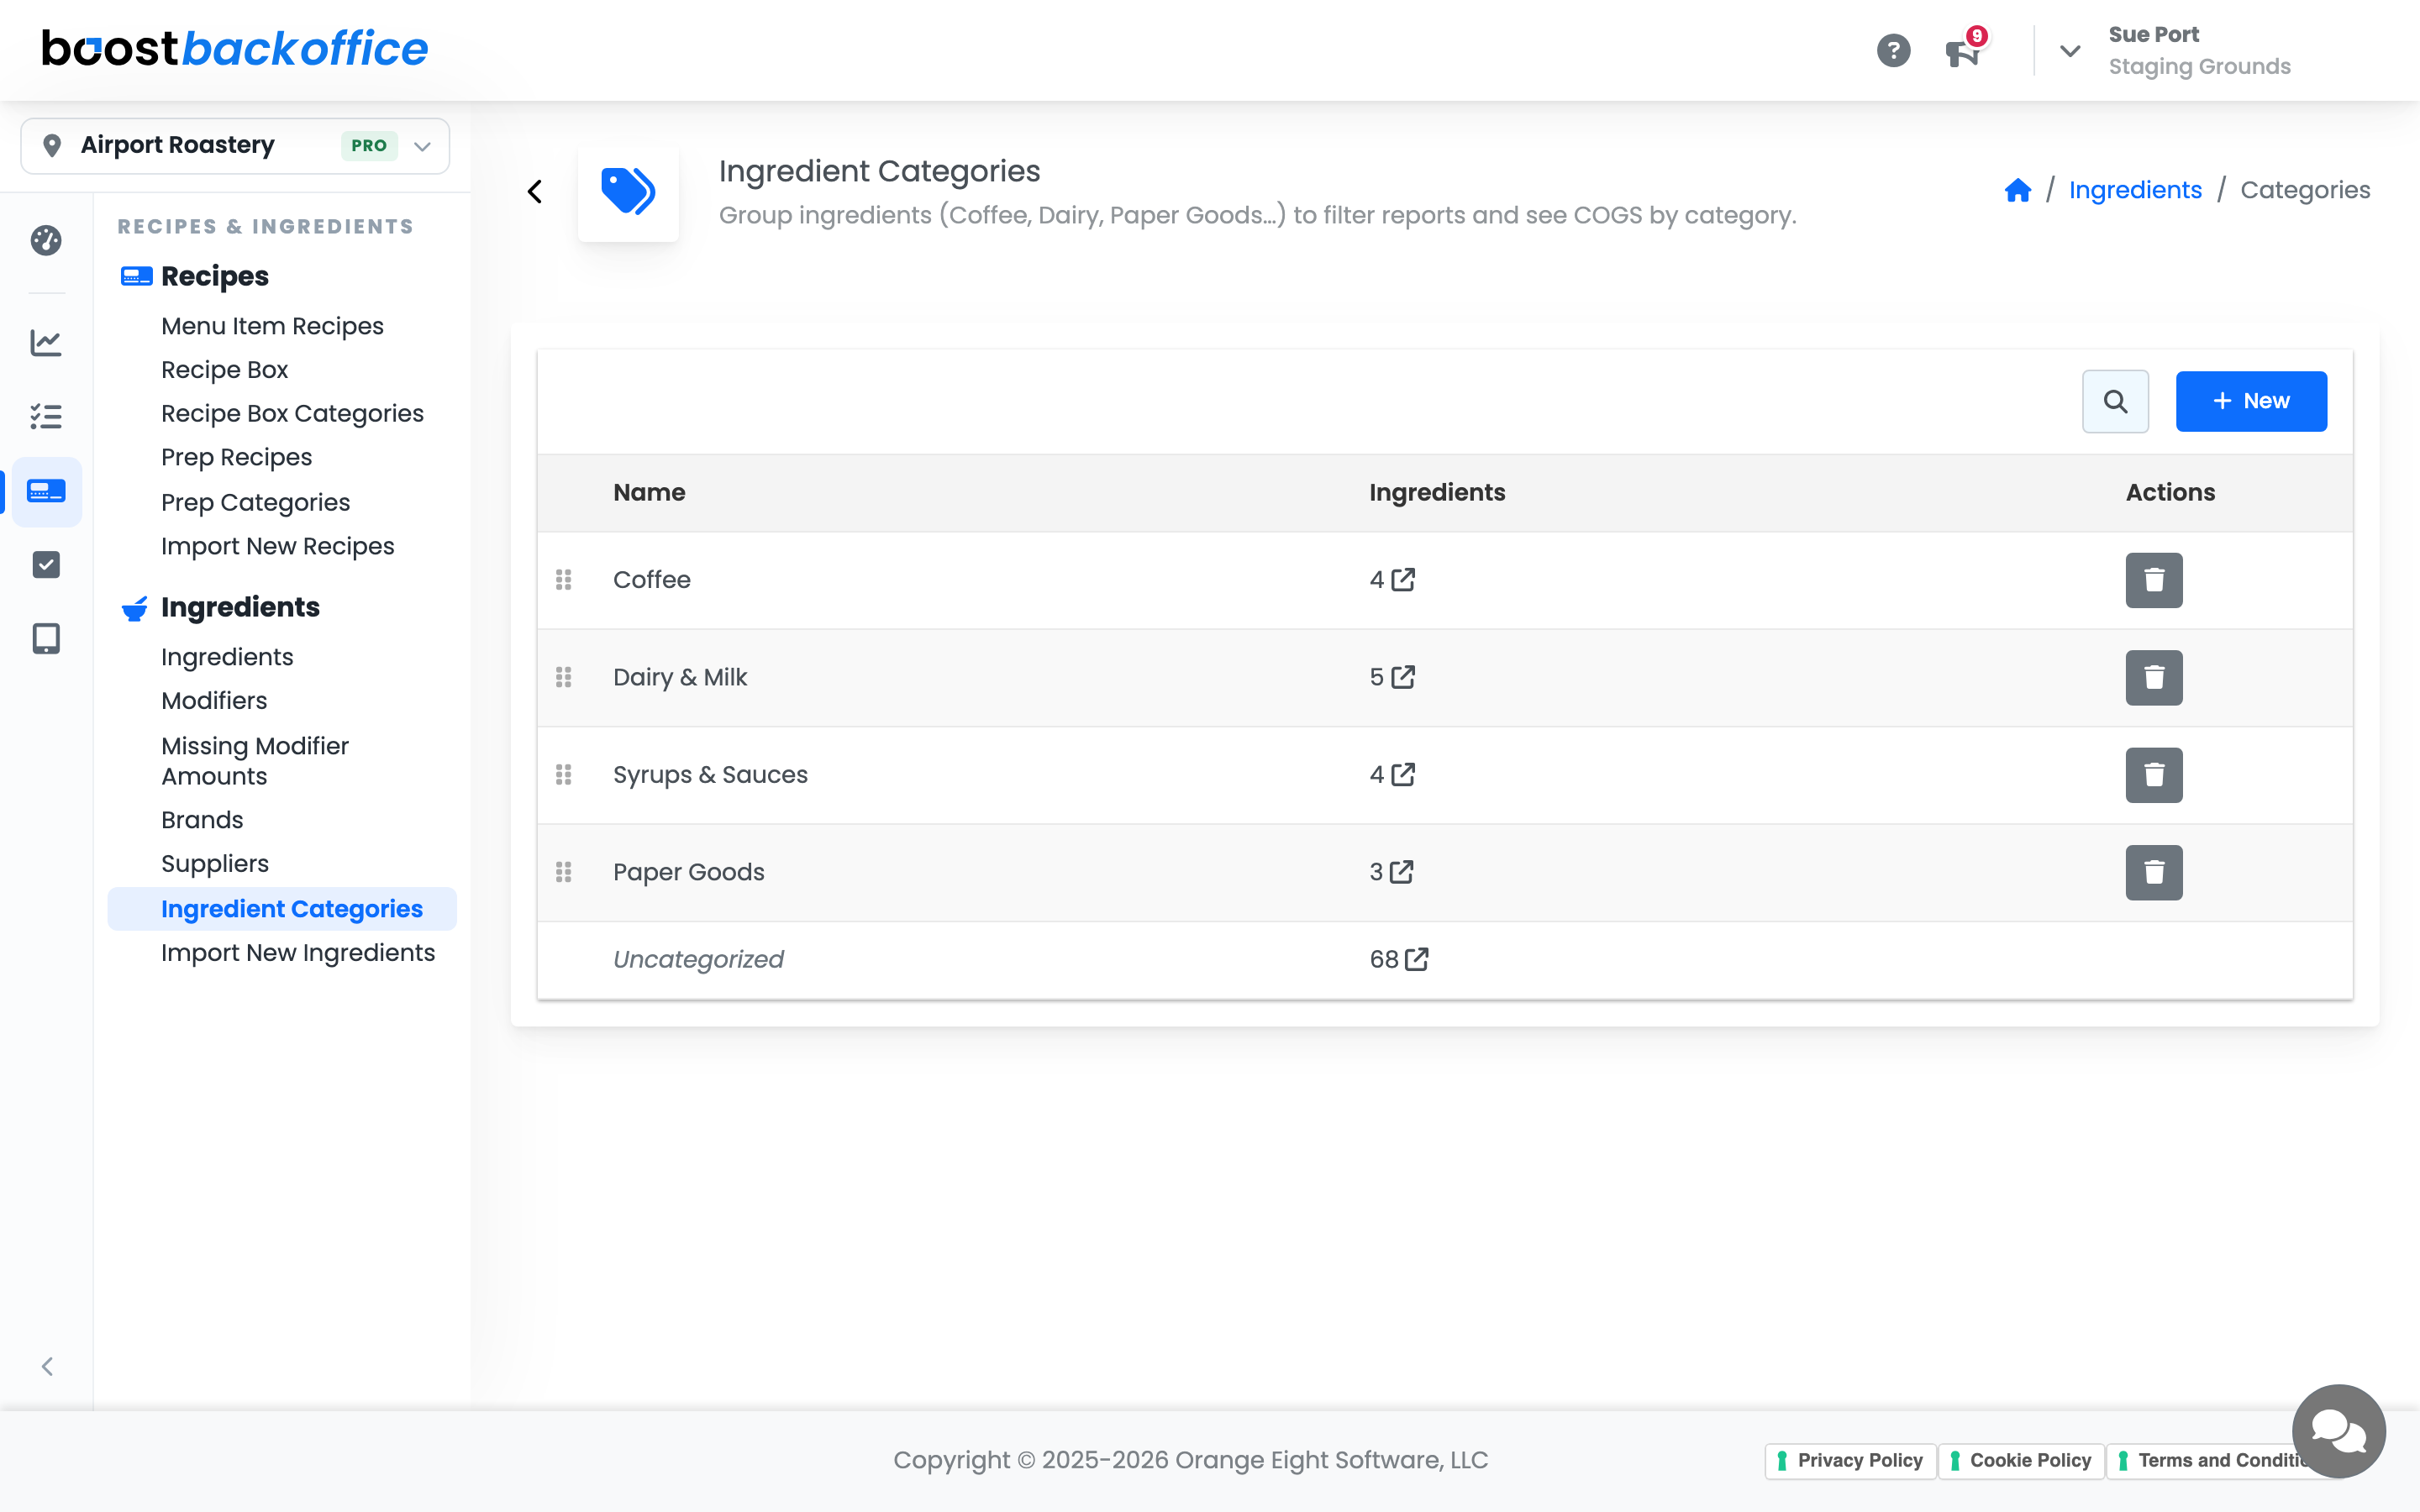
Each category shows how many active ingredients it holds. Click a count (or the arrow next to it) to see those ingredients. The Uncategorized row at the bottom counts every ingredient that still has no category, which makes it your to-do list.
Create a category
-
Press New.
-
Type a Name, like
Bakery.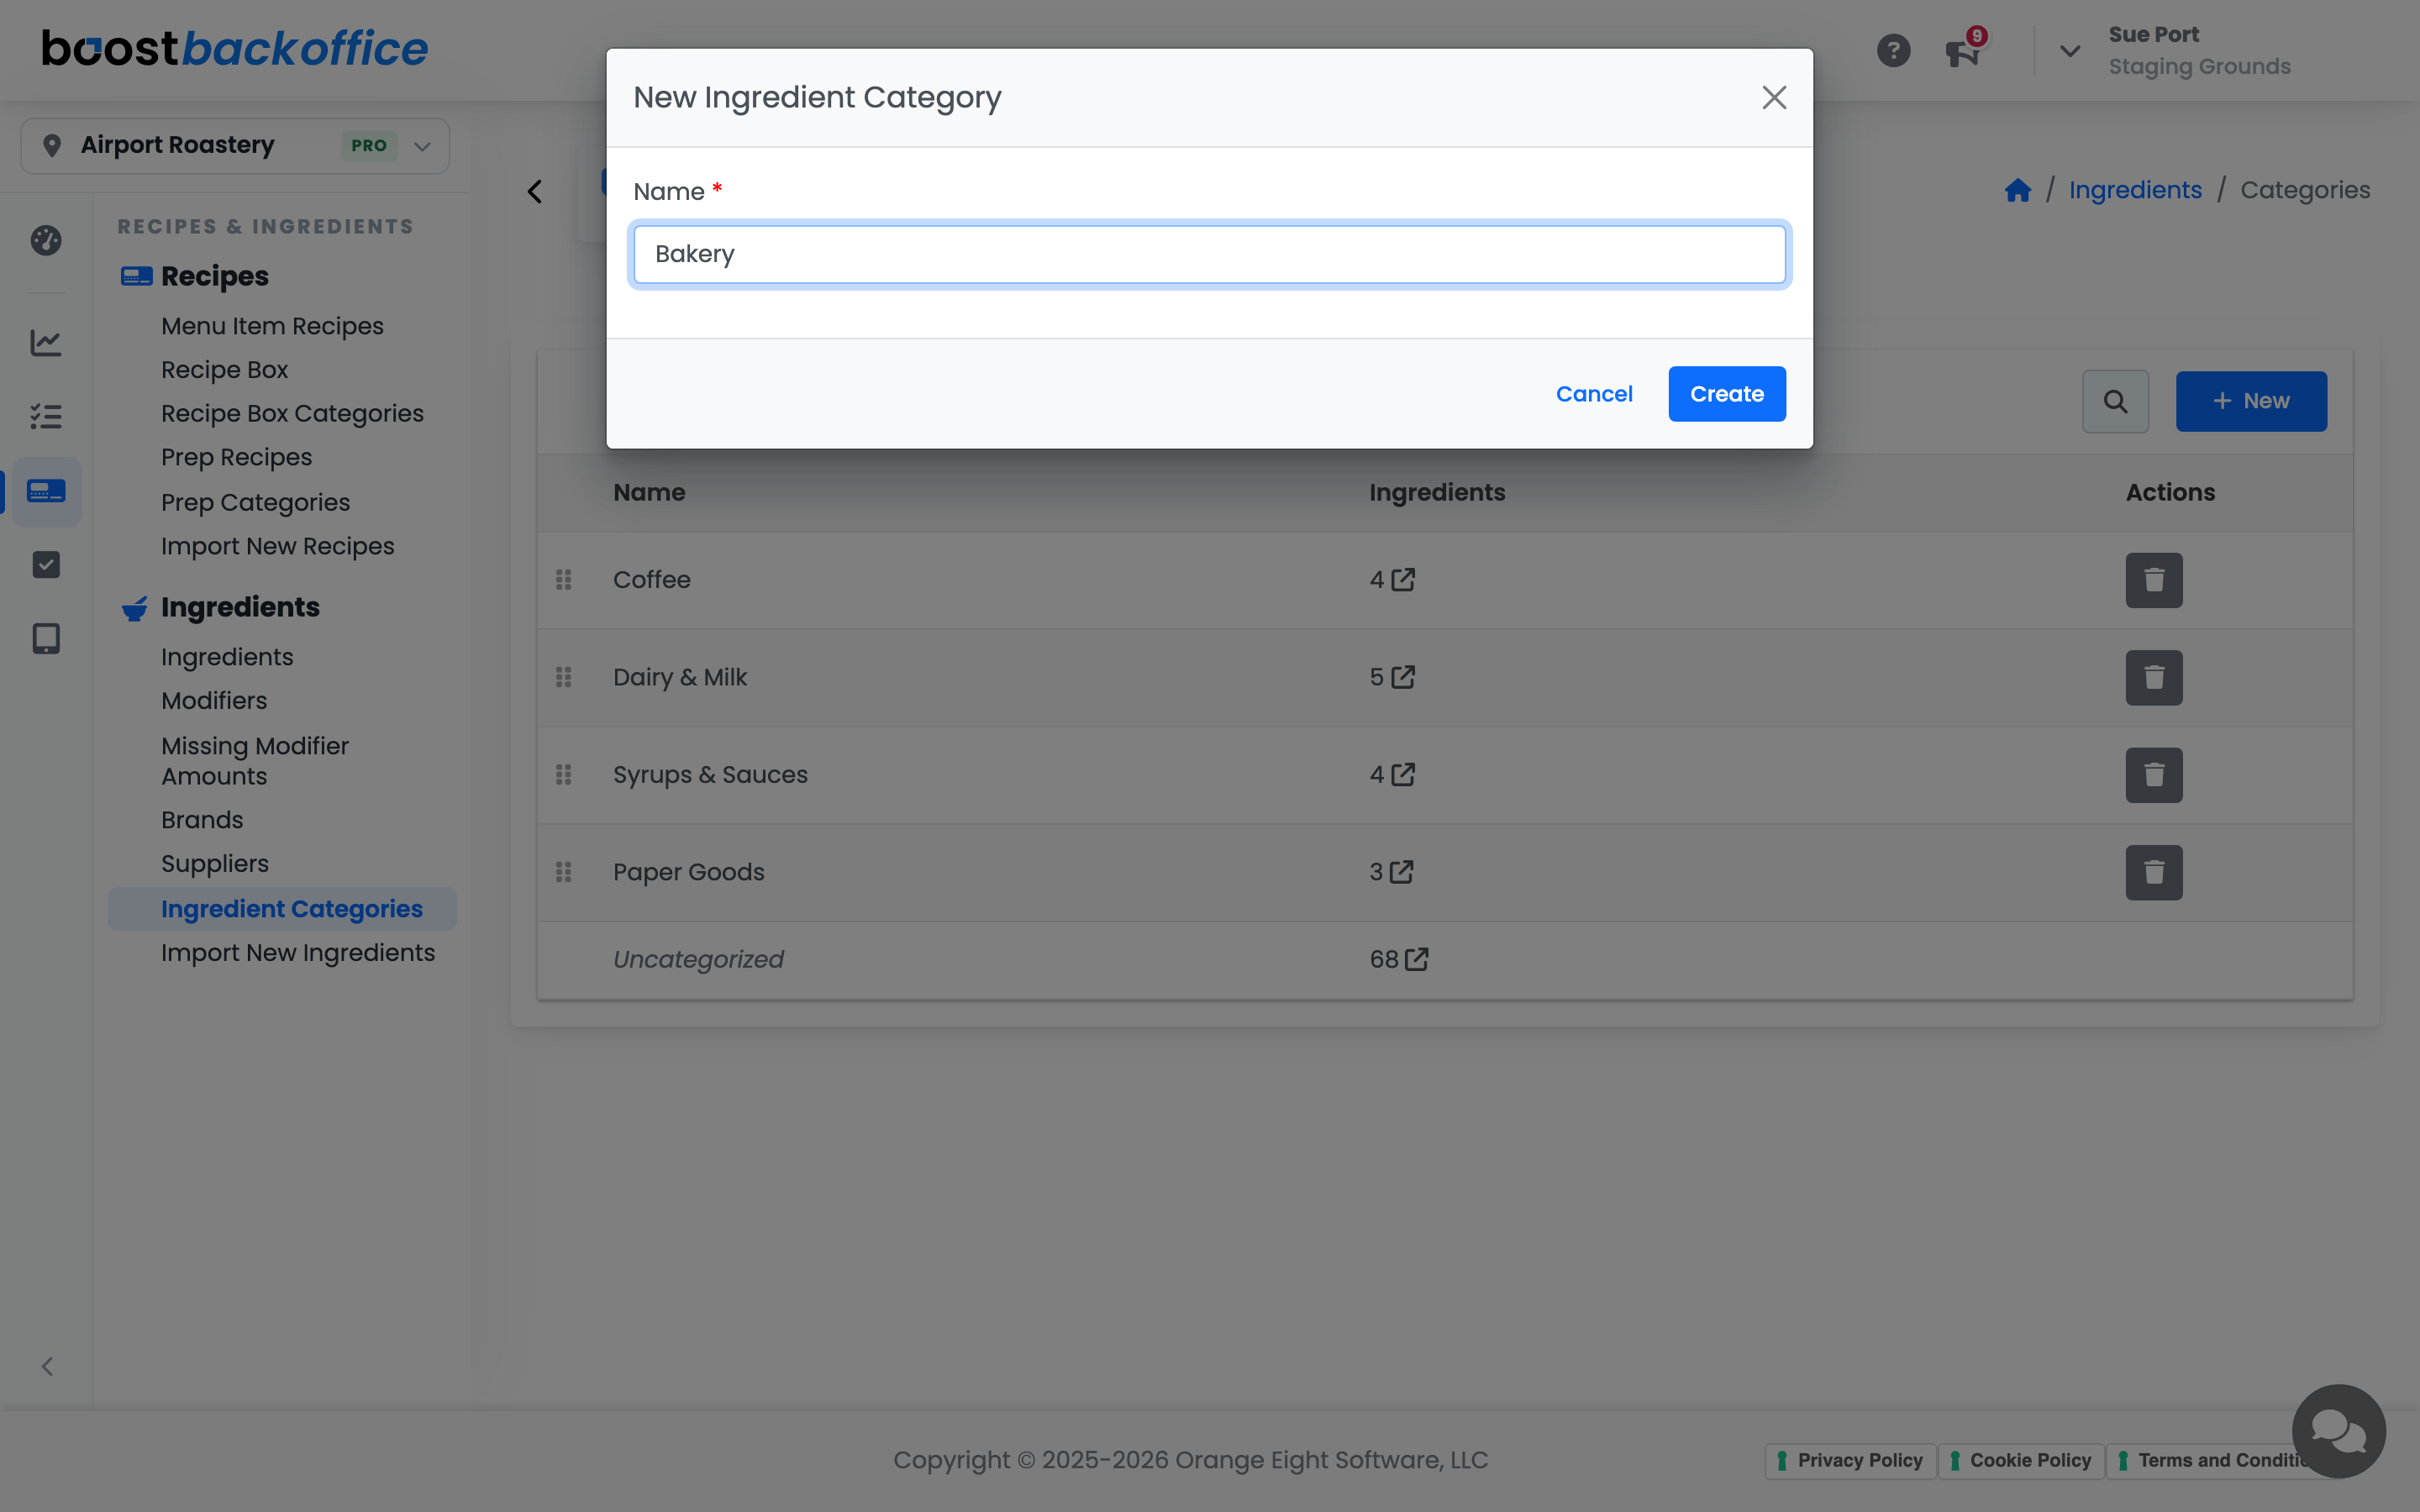
-
Press Create.
Exporting COGS to QuickBooks on Pro? You can post a category to its own QuickBooks account right in the export (see COGS by Ingredient Category and the QuickBooks Export).
Tip
You don't have to start here. Typing a new name into any ingredient's Category dropdown creates the category on the spot.
Two categories can't share a name, even with different capitals or spacing, so "Dairy" and "dairy " stay one category.
Sort out everything uncategorized
-
Click the Uncategorized count.
-
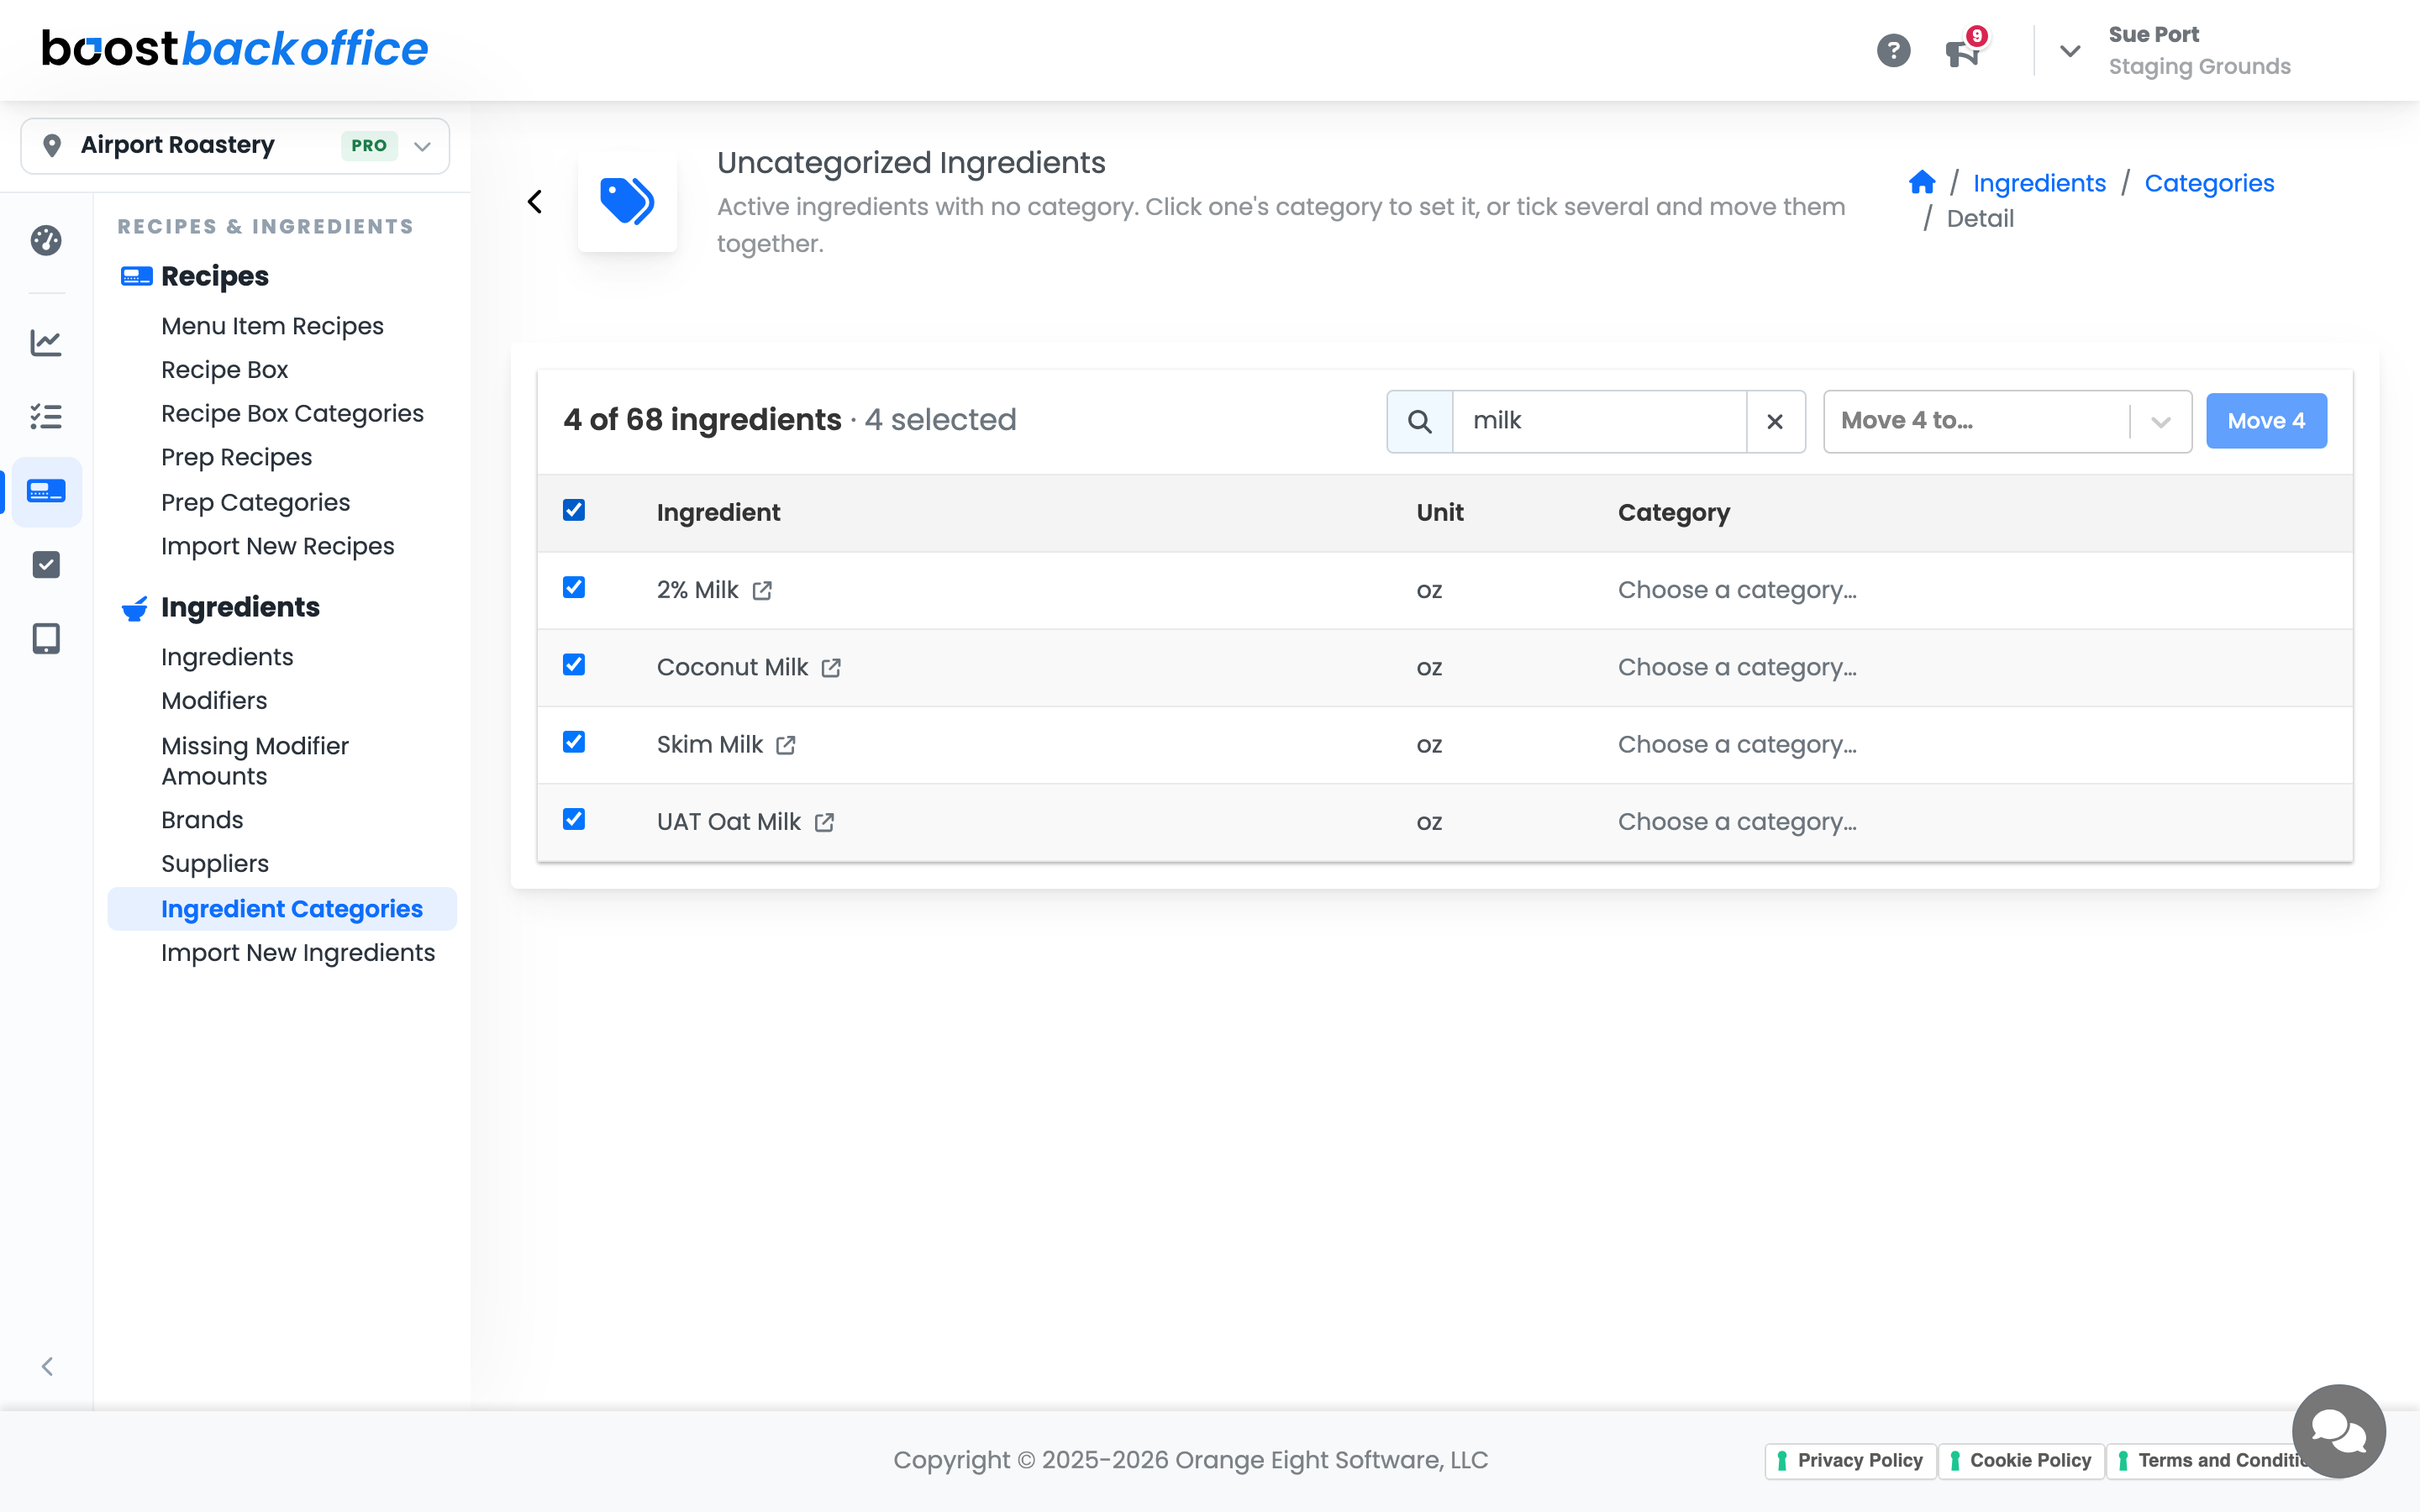
To round up one kind of ingredient, click the search icon above the list and type part of a name, like
milk. The list narrows to the matches and the header shows how many of the total are left, like 4 of 68 ingredients. -
Tick the ingredients that belong together. The box in the header ticks everything the list is showing, so after a search it ticks just the matches.
-
Choose a category in the Move 4 to… box (it counts what you ticked) and press Move.
The moved ingredients drop off the list, so what's left is what still needs a home. To place a single ingredient, click its Choose a category… cell and pick one.
Tip
Your ticks stay put when you change the search. Search milk and tick them all, then search cream and tick those too, and one Move sends the whole batch. If the search is hiding any ticked ingredients, the header says how many (for example 6 selected (4 not shown)), so nothing moves that you didn't mean to.
Work inside a category
Click any category's count to open its list.
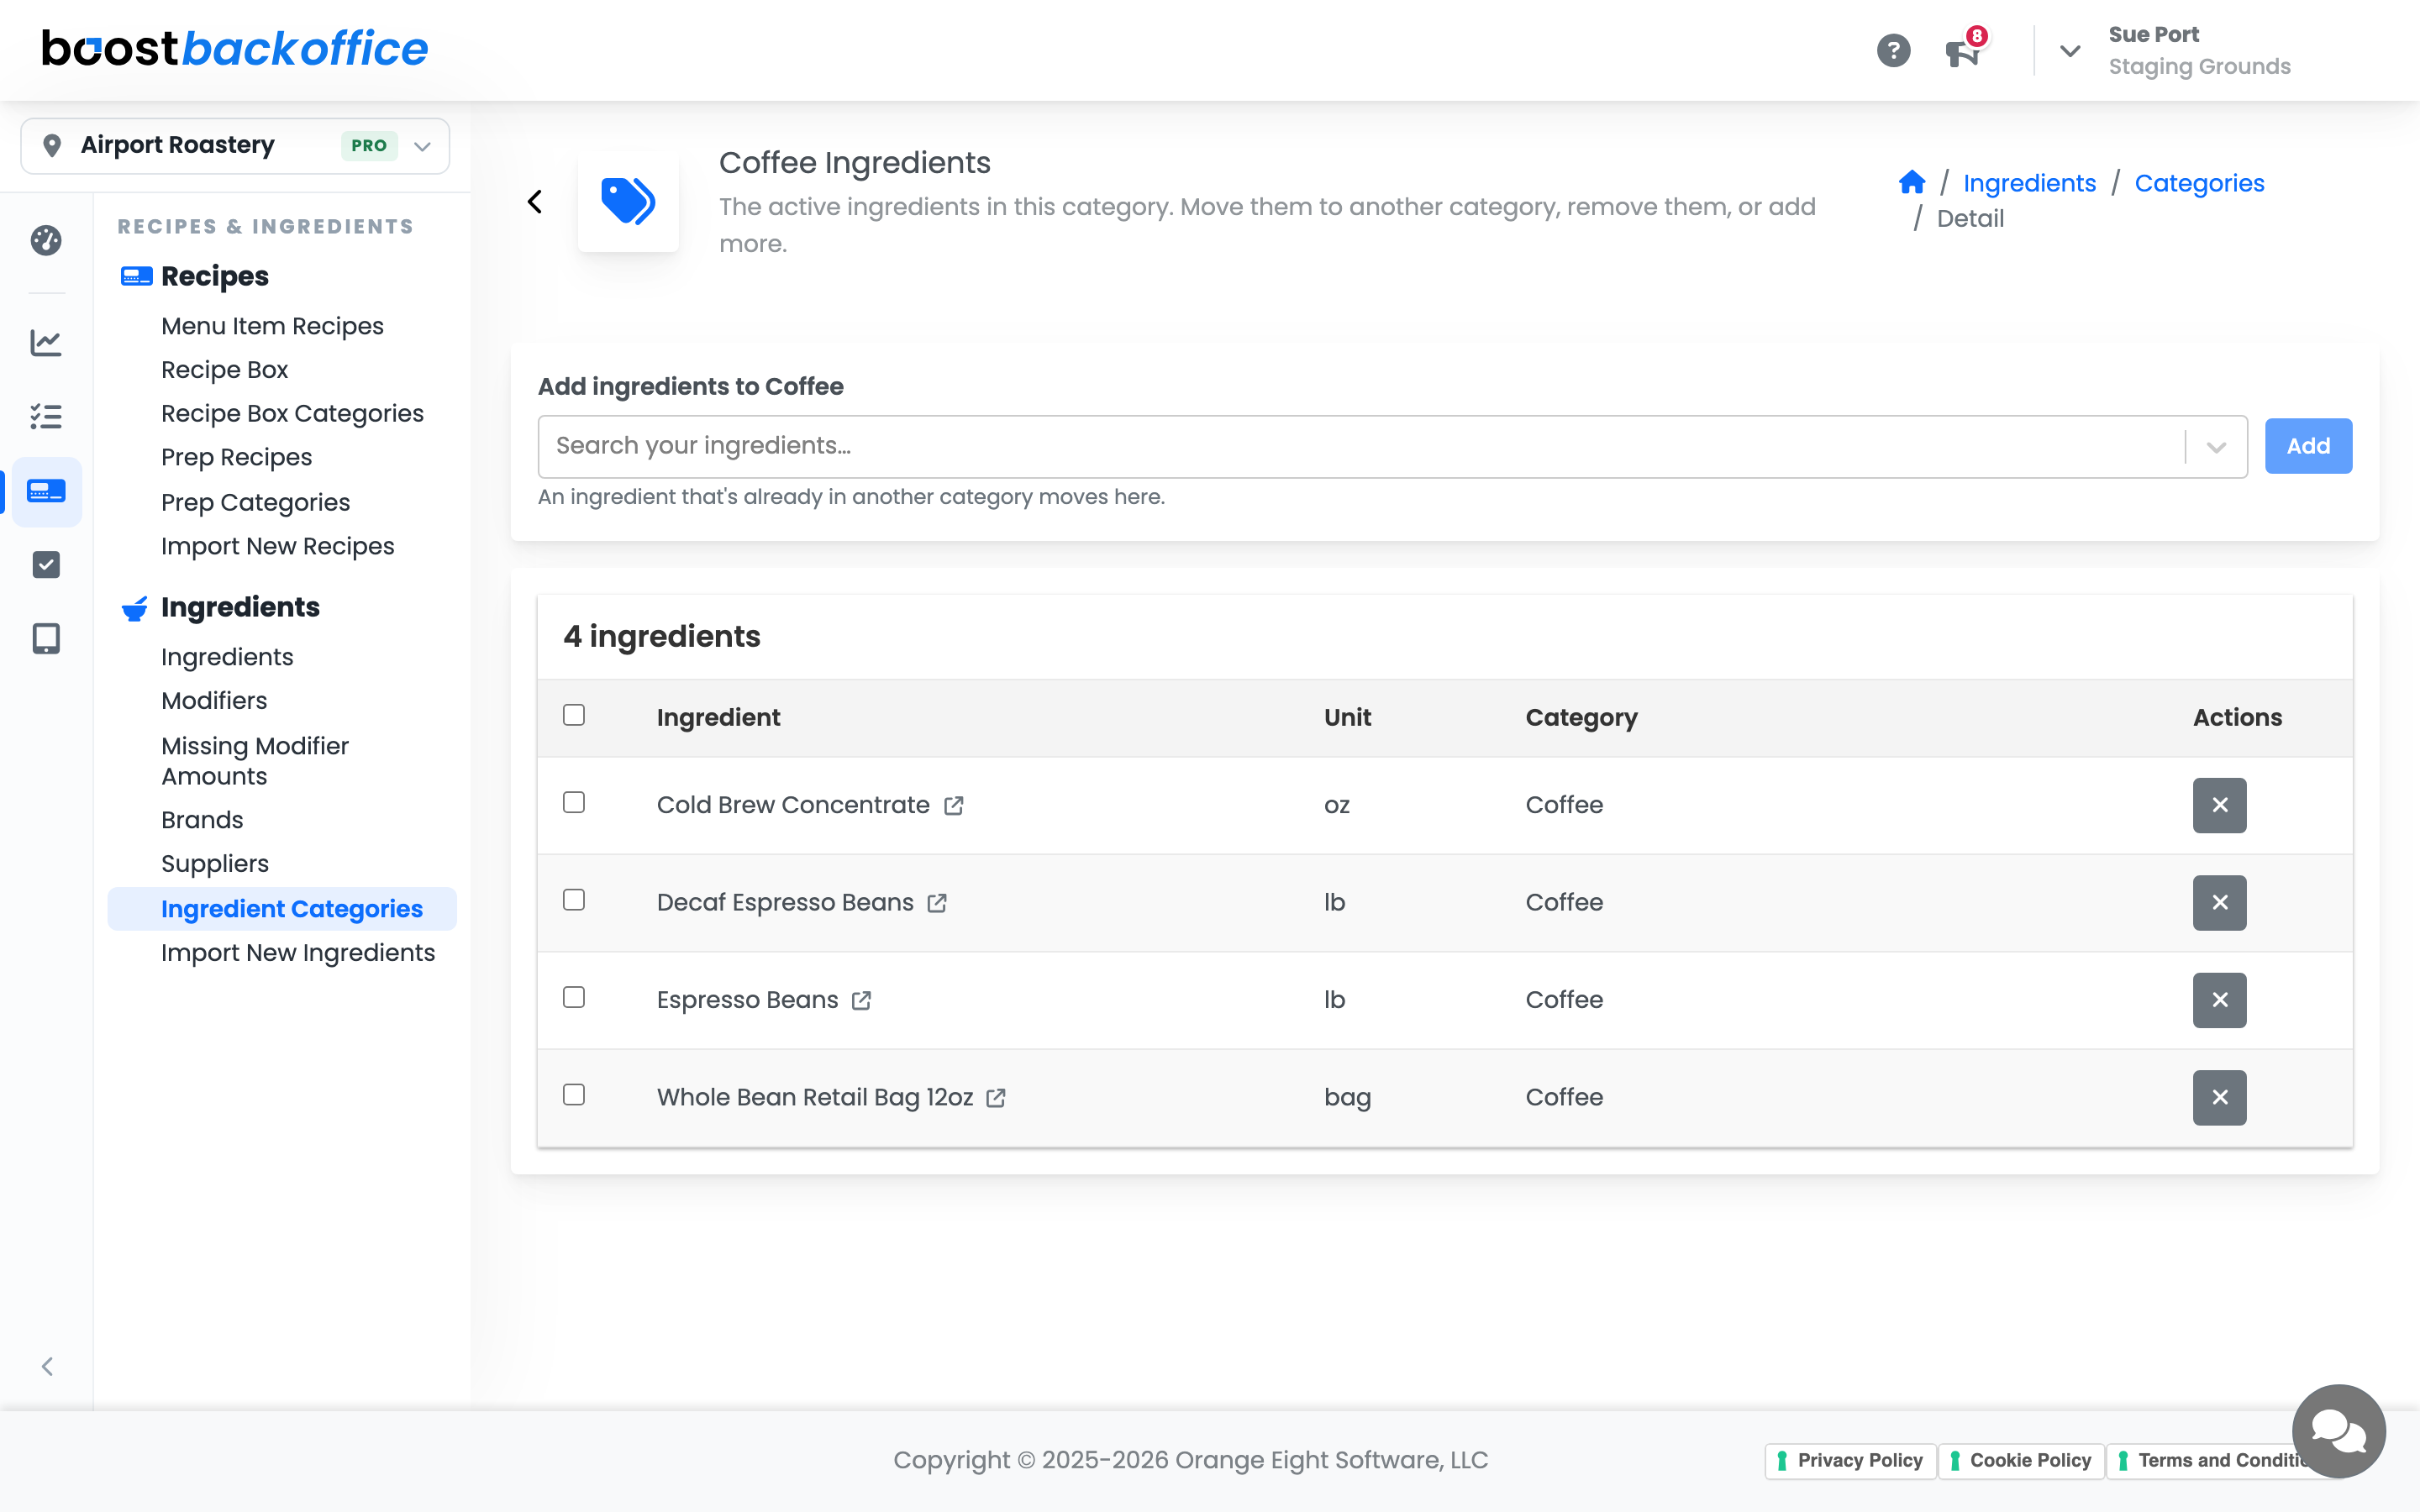
- Add ingredients searches your whole ingredient list. Adding one that already sits in another category moves it here.
- Click an ingredient's category to move it somewhere else, or use the X to take it out of this category.
- Search the list and tick several to move or remove them together, the same way as on Uncategorized.
Tidy up the list
Back on Ingredient Categories, click a name to rename it and drag rows by their handle to reorder them. The order you set is the order every category dropdown and report uses.
Careful
Deleting a category can't be undone. Its ingredients aren't deleted; they become uncategorized, and the confirmation tells you how many.
What you should see
A short list of categories that matches how you run the shop, and an Uncategorized count at or near zero.
Account Level: All